Showing posts with label vegetarian. Show all posts

Sunday, April 21, 2013

Citrus and Herb Soap Recipe

A simple soap recipe for adding to melt and pour soap bases; I added the following herbs to this company’s olive oil base. 

INGREDIENTS:

Lime peels, grated
Carrot, grated
Rosemary, finely chopped
Stinging Nettle Leaves, finely chopped
Orange essential oil
4 Leaf Clovers, dried (for decoration)
Melt the soap in a double broiler

Add herbs, oils, etc.

Pour into mold

Then I pressed 4 leaf clovers into the soap

Allow to cool and harden completely


Beautiful!

Monday, March 11, 2013

Garlic Powder


We recently bought a dehydrator; which is going to make preserving herbs, fruits, peppers, etc. so much easier!  I had previously be using my oven at a low setting for hours, which I’m sure used a lot more energy than a dehydrator. 
Since we don’t have much in the garden ripe for preserving right now, I decided to make garlic powder for my first project.  I love garlic powder, but I just can’t bring myself to buy that preservative filled powder at the grocery store. 
 
 
I used 5 heads of garlic.  Unwrapped all the cloves, sliced them up and dehydrated them at 105° F for around 24 hours.  Next time I will slice the garlic thinner to speed it up.
I ground the brittle cloves up in a blender, strained out the big clumps and reground them until I had nice smooth powder.    
 
My 5 heads of garlic filled up a half pint mason jar.
 
It tastes amazing, the house smells wonderful and I can’t stop putting it on everything!  Pasta, pizza, calzones, veggies, eggs, salads, breads.  We are going to put this dehydrator to very good use!

Monday, March 4, 2013

Homemade Spinach and Mushroom Ravioli

Well I think this is the hardest I’ve ever worked for a meal.  My boyfriend and I were sweating by the time we finished hand rolling our pasta; we are definitely ready to invest in a pasta roller!  We also made a fresh batch of pasta sauce and baked bread sticks, but the ravioli was the real accomplishment.


FILLING:

Blend:

1 CUP chopped mushrooms and spinach (substitute or add any veggies / herbs you like)
1 CUP ricotta cheese
2 eggs

Store in refrigerator until ready to use

PASTA:

Mix:

2 CUPS whole wheat flour (or other grains)
3 eggs
Pinch of salt
Knead dough for 10 minutes then roll flat either by hand or preferably with a pasta roller :)

Flatten until it’s as thin as a penny.

Then place spoonfuls of filling on one side of pasta, fold in half and press around seams to encase filling.
Cut between raviolis with pizza cutter or knife and press edges together with a fork.
Cover raviolis with flour to keep them from sticking to one another.
Cook in boiling water for 5-10 minutes, until raviolis float.


Drain water and add sauce.


I have to say, as much work as it was; these are the best raviolis I’ve ever eaten!   Such a simple and versatile recipe too, I will be making these again.


Printable recipe here.

Sunday, March 3, 2013

Sarsaparilla Soda


No matter how hard I try to cut soda out of my diet, I just can’t help but grab one every once in a while!  So it might as well be homemade.

For the first time around I bought a couple soda extracts from my local brewery supplier, sarsaparilla and birch beer.  Which it turns out, both are basically just root beer, coming from different plants but similar in taste.


Recipe went as follows…

Rehydrate 1 tsp brewer’s yeast in warm water.
Combine soda extract, 4 lbs (or 8 cups) sugar with enough warm water to dissolve.

 
Stir in yeast and add warm water until you have 4 gallons of soda.

 
Fill bottles leaving 1-2 inches of head space.

 
Age 3-4 days at room temperature, then store in cool, dark place for total aging of 2 weeks
Refrigerate and enjoy! 
(My 4 gallons filled 28 12 oz. glass bottles and 2 2 liter soda bottles)

 
Can’t wait, it already tastes good, just needs to carbonate.

Saturday, February 23, 2013

Radish Butter Toast


Radishes are so easy to grow, and they ripen in 25 days or so!  Plus one seed produces hundreds of seeds if you allow the plant to flower and form pods.   So once you start growing your own radishes you will never need to buy seed again… or radishes. 

 
I’m often caught with a bunch of ripe radishes ready to go so I’m always looking for new radish recipes and I kept seeing variations on this recipe.  Apparently this idea originated in France, a perfect topping for baguettes.   And since I had a bed full of over ripe radishes, I had to do something fast.  I went for the Martha Stewart version.  A lot of times people just slice the radishes,  but since my radishes  were in the ground a little too long I had to cut off some rotten/hard  sections , so grating them sounded like a better option this time. 

 
This recipe is so simple; you don’t really need exact measurements.  Basically just smash grated radish together with room temperature butter.

 
I lightly toasted my baguette, made using this recipe.

Then spread the radish butter mixture on the warm toast, slice and serve.

I took these as an appetizer to a family dinner and we devoured them.  I will definitely use this recipe again.  Spring is almost here, so next time I will be able to use fresh radishes!

Wednesday, December 19, 2012

Bay Rum Aftershave and Soap


For the men in my life I made something a little different this Christmas.  I found this recipe for bay rum aftershave and had to try it.  This recipe uses a West Indies bay leaf, Pimenta racemosa, which is a different type than what you buy at the grocery store, making it hard to find!  What I did find was too expensive, so I bought a bottle of Pimenta racemosa essential oil on ebay. 

Apparently sailors in the West Indies used to rub the bay leaves on their skin to cover odors.  Eventually the bay was combined with the local rum and bay rum was invented to be used in extra manly colognes and aftershaves.

8 TBSP Vodka
2 TBSP Jamaican Rum
Pimenta racemosa essential oil (I used 2 or 3 drops per bottle)
Orange essential oil (1 or 2 drops per bottle or add fresh orange zest)
¼ TSP Allspice
¼ TSP ground cinnamon


Basically I just mixed everything together in a 2-liter bottle.  Let it sit a couple days, shaking it up every once in a while.  Then strained it through coffee filters and bottled it up in recycled yeast bottles.

Yeast bottles worked perfectly for the aftershave and I added a label on the lid along with a tag explaining the origin of bay rum. 


I’ve wanted to make soap for a while, and I didn’t realize how easy they had made it!  This company makes several varieties of vegetable based soaps.  You can just buy blocks of… soap basically, at craft stores.  Just melt the soap, add oils, herbs, etc. and pour into molds.   I used the olive oil base and added the bay leaf oil, a few drops of orange oil, crushed dried sage, cinnamon and allspice. 


I wrapped each bar in wax paper, tied with ribbon, and made muscle man labels.


All in all I spent about $50 on ingredients and made thoughtful, handmade gifts for 6 people.  Plus I have quite a bit of rum left!  I tested both products on my boyfriend and they met his satisfaction.  And mine, he still smelled very manly after a full day of work!


Sunday, December 9, 2012

Chocolate Covered Cherries


I love chocolate covered cherries!  And they make a simple, cheap gift that most people can enjoy. Apparently they taste better after a couple weeks, so this year I actually made them ahead of time.  They are amazing fresh too, but the additional time allows the cherry juices to soak into the candy giving it that sweet, juicy center.  Either way, chocolate covered cherries have quickly become one of my favorite things to make around the holidays.

INGREDIENTS:
60 maraschino cherries (with or without stems, stems just make them easier to dip and handle)
3 TBSP butter substitute, softened
3 TBSP corn syrup
2 CUP confectioner sugar
1 bag chocolate chips


Drain the cherries (save the juice for mixed drinks or other desserts later!).  Let the cherries dry on paper towels or in a colander.


Combine the butter and corn syrup until smooth.


Add the confection sugar and form into dough. 


Chill if necessary to keep dough firm.

Coat each cherry with the sugar dough, using about a teaspoon of dough per cherry.  I usually flatten the dough into a disk, wrap it around the cherry, and then roll the dough around the palm of my hand until the cherry is evenly coated.  (It doesn’t have to be perfect :)


Let chill until firm.


Melt the chocolate chips in a double boiler, or microwave.  Dip each cherry in the chocolate and coat.  Let dry on wax lined paper and store in an air tight container.

Monday, December 3, 2012

Vegan Fudge


I always forget about fudge until the holiday season.  And then I make tons of it :) I thought fudge was so good, because it used real butter and milk.  I was wrong!  It’s all about the chocolate!  I use Earth Balance vegan butter, homemade rice milk, and unrefined sugar to replace the animal derived ingredients in in an old recipe. Tastes exactly the same as when I made it non-vegan in the past.

INGREDIENTS:
2 cup sugar
¼ TSP salt
4 oz unsweetened chocolate (or ½ CUP powder)
1 TBSP corn syrup
1 CUP rice milk
2 TBSP vegan butter
1 TSP vanilla

Using a wooden spoon, mix the sugar and salt together; then add the chocolate, corn syrup and milk.  Turn the heat to low and mix until everything dissolves.


Let the mixture heat up until it reaches between 234-240°F.  Stir as little as possible, the chocolate will boil over so use a large pot.


(If you don’t have a thermometer you can test the fudge by dropping a little in a glass of cold water.  When it’s ready it will be firm enough to form a soft ball.)
 

Add the vegan butter to the fudge and remove from heat.  Do not stir the butter in until the fudge cools to about 110°F (I usually just wait until I can easily touch the outside of the pot).


Add the vanilla and stir vigorously until the fudge loses its glossy finish and looks more matte.  Pour into a butter pan and let sit at room temperature until hardened.


Here are some fudge repair tips I found in an old cookbook:
To soften fudge: knead with hand until it becomes smooth, and then flatten into pan
To stiffen fudge:  add ¼ CUP milk, stir, heat to proper temperature, beat and pour.

Wish I had known those tricks before; the main thing with fudge is getting it to that perfect temperature.  But even mistake fudge can usually be used for something.  If the mixture doesn’t get hot enough it doesn’t solidify, but it’s great as a fudge sauce for other desserts.  If you heat the fudge over the 240°, it gets too stiff and brittle, but can be used as chocolate shavings in desserts and hot drinks.  You can’t go wrong!


Sunday, November 25, 2012

Dad’s B-Day Gift – Crushed Red Pepper Flakes and Seeded Rye Crackers


For my Dad’s birthday this year I put together a jar of my homegrown crushed cayenne peppers and these seeded rye crackers with amaranth, sunflower seeds and fennel from the garden. 


My dad like’s spicy food, so I figured he could get some use out of my peppers!  Here is my post about drying the peppers, and then I simply crushed the dried peppers up a mortar and pestle until they were nothing more than seeds and pepper flakes.  So good!


This was my first time making crackers.  I didn’t have much wheat flour left, but I had a whole thing of rye flour.  I followed this recipe as my base and added seeds and more rye flour.  My adjusted recipe goes as follows:

½ CUP plus 2 TBSP rice milk
3 TBSP olive oil
1 CUP whole wheat flour
1 CUP rye flour
½ TSP baking powder
1 TSP garlic salt
2 TSP amaranth seeds
¼ CUP sunflower seeds
1 TBSP fennel seeds

 
Mix the milk and oil together.

Add the rest of the ingredients and mix until dough is formed.

Roll out on a floured surface and cut into cracker shapes (either into squares or use a cookie cutter).  I flattened the dough to about 1 cm, but you could make thicker crackers too, just cook a little longer.


Place the crackers on parchment paper lined baking sheets and cook for 18 minutes at 350°F, rotating about half way through.


They taste great!  My dad will love them.  I put my goods in glass jars and made a couple personal labels using sticker paper and permanent markers.


(I grew Joe's Long Cayenne Pepper's; I crossed the "E" in Joe's out and put a "Y" above to spell my name, Joy :) )

Thursday, November 22, 2012

Stuffed Tofurkey


I’ve been vegetarian for over 10 years now and I’ve never made a tofurkey!  So I figured it was about time.  I looked at a bunch of different recipes, combining several but mostly followed this one; it has great pictures of each step.  It’s also an easy recipe to adapt depending on what herbs you have available.


This is a bit of a process, but after tasting the results I may be making it every year!


Basically you are making 3 parts; the “turkey”, stuffing and a marinade.  I started 2 days before Thanksgiving, because I had to drive to Columbus this morning, but you can make it work starting the day before.  And if you’re already out of time, there is always this fabulous beer can tofurkey idea!


TOFURKEY

INGREDIENTS:
3-4 14 oz containers of extra firm tofu
1-2 TBSP of each of the following herbs:
   Oregano
   Sage
   Rosemary
   Thyme
   Garlic Scapes (/Chives/Green Onions)
Salt and Pepper to taste


Let the tofu sit out overnight or at least a few hours so it’s at room temperature. 


With your hands, squeeze all the liquid you can get out of the tofu.  Then mix in the remaining ingredients.


Take a clean, wet piece of cheesecloth and drape it over a strainer.  I sprinkled some rosemary and chopped sage leaves down first.  Then scoop the tofu mix into the covered strainer.  Use the excess cheesecloth to wrap the top of the tofu and press any liquid out.  Put a bowl under the strainer and a plate on top of the cloth.  Sit in the fridge overnight and place something heavy (I used a juice bottle) on top of the plate so that the presser will continue to squeeze liquid out of the tofurkey. 


STUFFING

You can make this the day of your meal or before and refrigerate.

INGREDIENTS:
3 CUPS bread cubes
1 TSP or so olive oil
1 small red onion, finely diced
1 celery stick, finely diced
1 small apple, diced
3 TBSP herbs (I used sage, cilantro, rosemary and thyme)
Pinch of cayenne (crushed red pepper)
Salt and pepper to taste
1 TBSP maple syrup
1 TSP balsamic vinegar
½ CUP sunflower seeds or other nut/seed
¼ CUP dried fruit (I used dried goji berries from the garden but you can use cherries, cranberries, etc.)
½ CUP vegetable broth

 
First cut the bread into cubes and dry in the over for 20 minutes or so at 250°F.

 
Heat a pan with a little olive oil and sauté the onion for a few minutes until soft.

 
Add celery, cook another 2 minutes

 
Add apple, herbs and spices and cook 5 more minutes.

 
Add syrup and balsamic vinegar, mix and remove from heat.

 
Combine this mixture with the dried bread cubes, seeds and dried fruit.

 
Put the stuffing into a greased pan and pour the vegetable broth over the top.
 

Cover with foil and bake for 25 minutes at 300°F.


MARINADE

I also made the marinade the day before and let it soak in all the flavors.

 
INGREDIENTS:
¼ CUP Braggs (/soy sauce/tamari)
¼ CUP olive oil
½ CUP chopped herbs (I used sage, chives, rosemary, thyme, oregano, and parsley)
1 TSP sesame seeds, finely chopped
1-2 cloves garlic, finely chopped


Just mix everything together and keep in the refrigerator.


ASSEMBLY….


Scoop out the center of the tofurkey, leaving an inch or so on the sides.


Fill hole with stuffing, and recover with scooped out tofu.  


Then very carefully flip the whole tofurkey into a cooking pan (I just sort of picked up the whole cheesecloth, placed the baking pan on top of the tofu and flipped).


Baste with the marinade, and cook for 1 to 1 ½ hours at 350°F.  Baste the tofurkey as much as you want throughout the baking.


I had some extra stuffing, so I reheated it separately and added it in around my tofurkey!

 
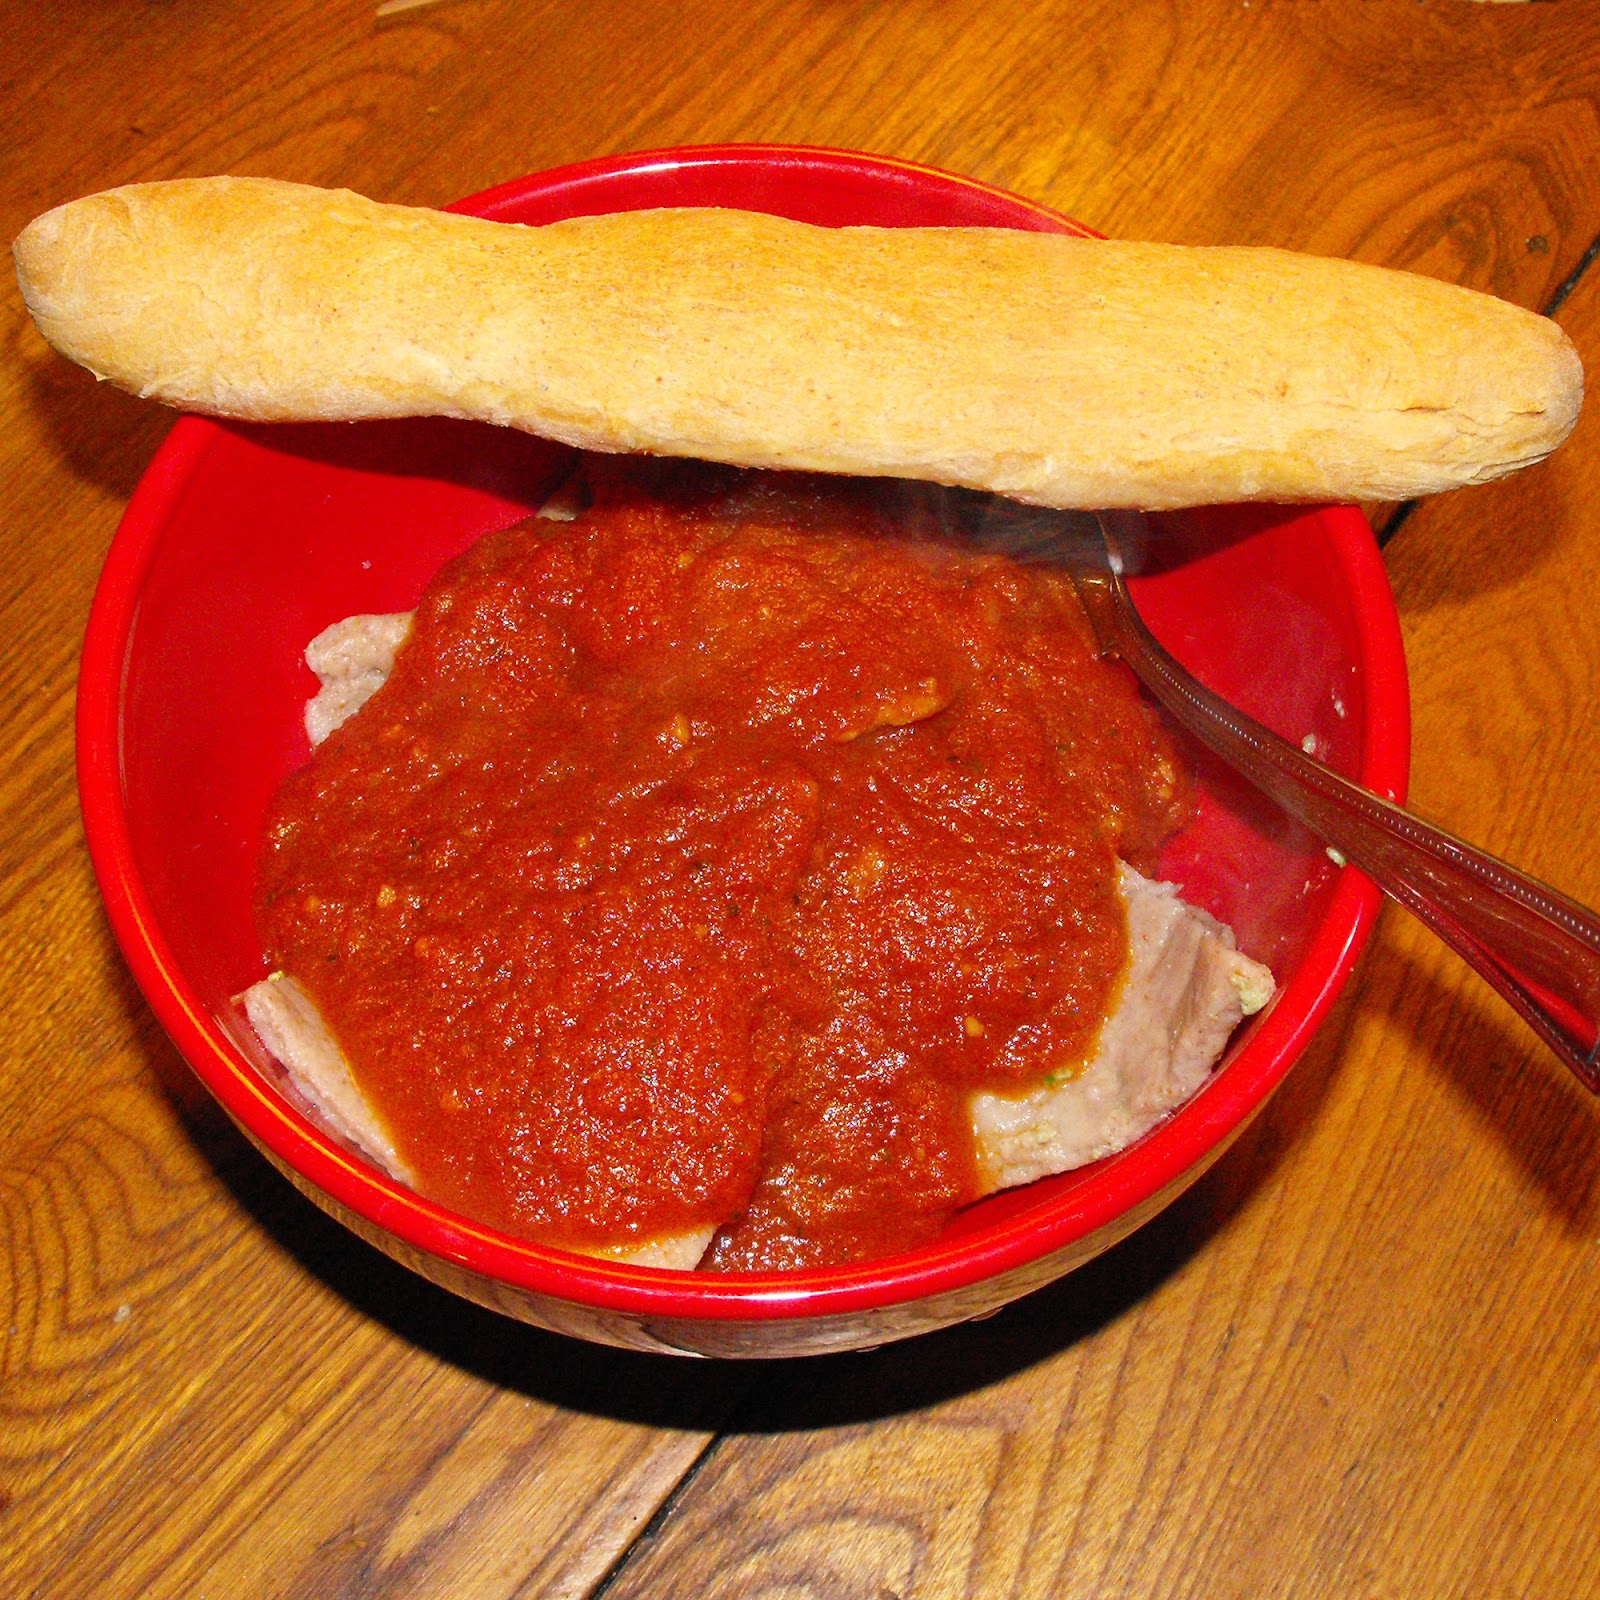
Beautiful and tastes amazing!  Much better than eating something this cute…..


Wednesday, October 3, 2012

Rice + Water + Blender = Rice Milk!


I never realized how easy rice milk is!  We were buying a carton a week almost, but not anymore.   Brown rice works best since it has the most nutrients, but you can use any rice you like.
 
First cook a cup of rice.  Follow the directions on the bag, the brown rice I used took 2 ½ cups of water for 1 cup of uncooked rice. 
 

Once your rice is cooked and cooled slightly, blend it with enough water to get the blender moving freely (I usually use an equal ratio of water to rice).  You want to chop up the rice as fine as possible, so add as much water as is necessary.


When your rice mixture is a nice smooth consistency strain it into a clean bowl.  You may have to stir the little rice chunks around so the whole mixture can pass through the strainer.  Continue to strain the mixture 3 or 4 more times, cleaning your strainer and bowls in between.  (I haven’t figured out anything useful to do with the waste rice other than giving it to the chickens or compost, but it seems like it could be a good hot cereal).
 
 
Put your milk in some kind of air tight container, like an old juice or soda bottle.  Gradually add more water until you get it the consistency you desire.  I like my rice milk pretty thin so I added about 3 more cups of water. 


You can also add flavoring to the milk; such as sweetener, maple syrup, vanilla, cocoa powder, fruit, etc.  The possibilities are endless, but trust me you will not be wasting money on rice milk ever again after trying this.  Just remember to shake the milk before pouring and you can always add more water if it starts to thicken.