Showing posts with label vegan. Show all posts

Sunday, April 21, 2013

Citrus and Herb Soap Recipe

A simple soap recipe for adding to melt and pour soap bases; I added the following herbs to this company’s olive oil base. 

INGREDIENTS:

Lime peels, grated
Carrot, grated
Rosemary, finely chopped
Stinging Nettle Leaves, finely chopped
Orange essential oil
4 Leaf Clovers, dried (for decoration)
Melt the soap in a double broiler

Add herbs, oils, etc.

Pour into mold

Then I pressed 4 leaf clovers into the soap

Allow to cool and harden completely


Beautiful!

Monday, March 11, 2013

Garlic Powder


We recently bought a dehydrator; which is going to make preserving herbs, fruits, peppers, etc. so much easier!  I had previously be using my oven at a low setting for hours, which I’m sure used a lot more energy than a dehydrator. 
Since we don’t have much in the garden ripe for preserving right now, I decided to make garlic powder for my first project.  I love garlic powder, but I just can’t bring myself to buy that preservative filled powder at the grocery store. 
 
 
I used 5 heads of garlic.  Unwrapped all the cloves, sliced them up and dehydrated them at 105° F for around 24 hours.  Next time I will slice the garlic thinner to speed it up.
I ground the brittle cloves up in a blender, strained out the big clumps and reground them until I had nice smooth powder.    
 
My 5 heads of garlic filled up a half pint mason jar.
 
It tastes amazing, the house smells wonderful and I can’t stop putting it on everything!  Pasta, pizza, calzones, veggies, eggs, salads, breads.  We are going to put this dehydrator to very good use!

Sunday, March 3, 2013

Sarsaparilla Soda


No matter how hard I try to cut soda out of my diet, I just can’t help but grab one every once in a while!  So it might as well be homemade.

For the first time around I bought a couple soda extracts from my local brewery supplier, sarsaparilla and birch beer.  Which it turns out, both are basically just root beer, coming from different plants but similar in taste.


Recipe went as follows…

Rehydrate 1 tsp brewer’s yeast in warm water.
Combine soda extract, 4 lbs (or 8 cups) sugar with enough warm water to dissolve.

 
Stir in yeast and add warm water until you have 4 gallons of soda.

 
Fill bottles leaving 1-2 inches of head space.

 
Age 3-4 days at room temperature, then store in cool, dark place for total aging of 2 weeks
Refrigerate and enjoy! 
(My 4 gallons filled 28 12 oz. glass bottles and 2 2 liter soda bottles)

 
Can’t wait, it already tastes good, just needs to carbonate.

Saturday, February 23, 2013

Radish Butter Toast


Radishes are so easy to grow, and they ripen in 25 days or so!  Plus one seed produces hundreds of seeds if you allow the plant to flower and form pods.   So once you start growing your own radishes you will never need to buy seed again… or radishes. 

 
I’m often caught with a bunch of ripe radishes ready to go so I’m always looking for new radish recipes and I kept seeing variations on this recipe.  Apparently this idea originated in France, a perfect topping for baguettes.   And since I had a bed full of over ripe radishes, I had to do something fast.  I went for the Martha Stewart version.  A lot of times people just slice the radishes,  but since my radishes  were in the ground a little too long I had to cut off some rotten/hard  sections , so grating them sounded like a better option this time. 

 
This recipe is so simple; you don’t really need exact measurements.  Basically just smash grated radish together with room temperature butter.

 
I lightly toasted my baguette, made using this recipe.

Then spread the radish butter mixture on the warm toast, slice and serve.

I took these as an appetizer to a family dinner and we devoured them.  I will definitely use this recipe again.  Spring is almost here, so next time I will be able to use fresh radishes!

Tuesday, February 5, 2013

Brewing Beer

This Christmas my Dad and stepmom set me up with a complete beer making kit.  I thought about asking for one for Christmas but never did, they know me too well!  I had an American pale ale recipe for my first brew.  The kit had everything I would need already measured out, so it was a good way to start brewing. 

I’m just going to go over the basics to give you an idea of the process, because basically I just followed the recipe in my kit.  It was relatively simple and very rewarding! 

Cooking the Beer

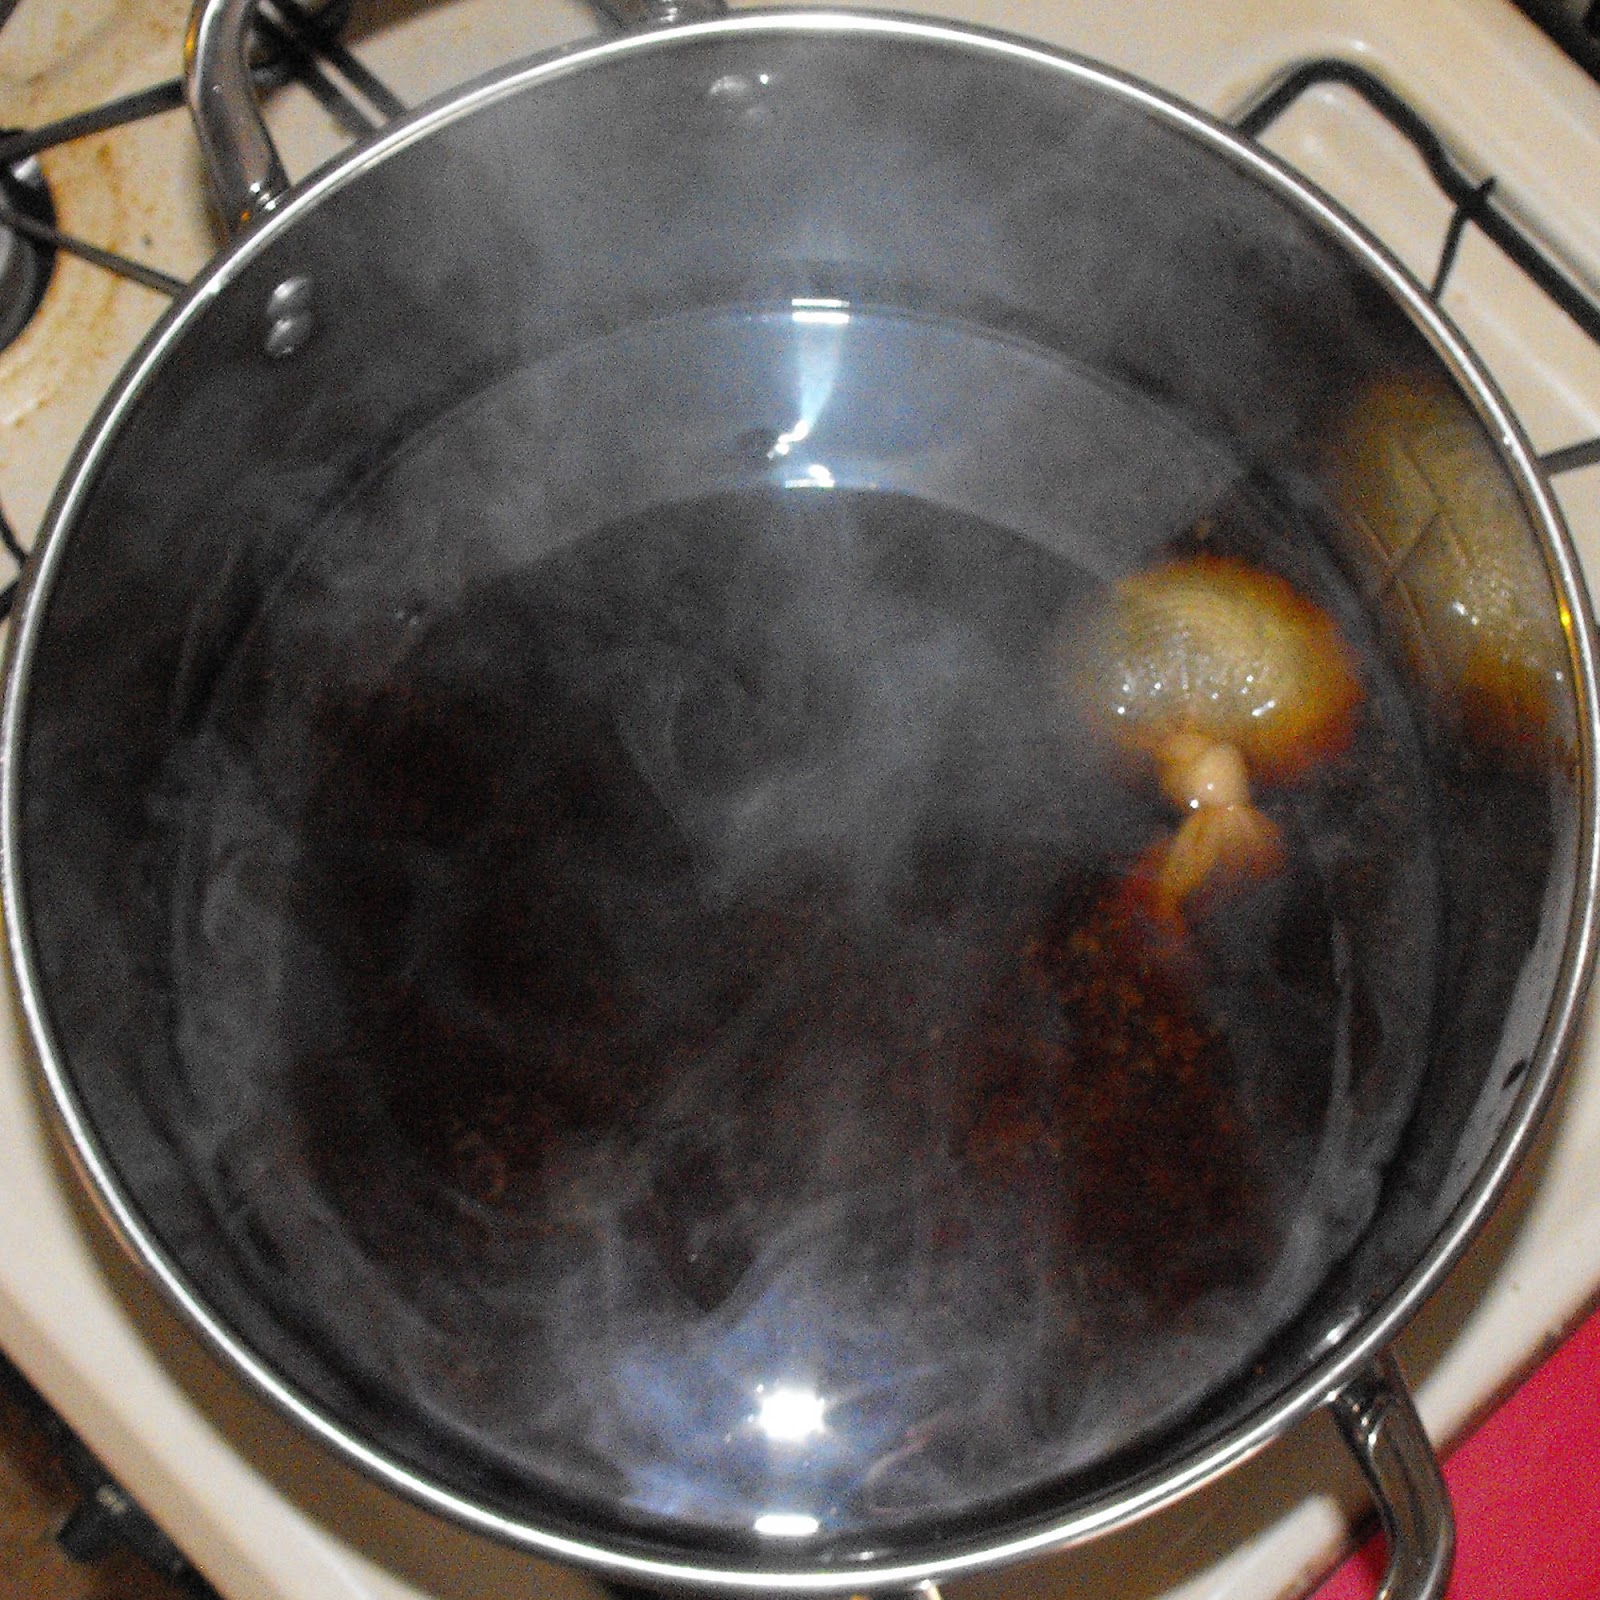
First I poured the grain into a muslin bag and tied it shut, dropping it into 2 gallons of water.  Heat to 150°F, then reduce heat and let simmer for 30 minutes, draining grain bag occasionally to let all the flavors seep out.


Remove grain bag, bring to a boil then remove pot from heat and stir in malt extract syrup. 


Next add the hops, hops are added at different stages of the brew for different flavors. 

The first hops added are for bitterness, and then the beer is boiled for 45 minutes.

The next hops for flavoring, and boil another 15 minutes.

Another batch of hops is added for aroma, the heat is turned off and the brew sits for 10 minutes.

Remove hop bag and sit pot in sink filled with cold water until it cools to 100°F

 
Fermentation
 
Siphon or pour brew into primary fermenter and add yeast stirring to aerate mixture.


Cover fermenter and put out of direct sunlight and ideally between 65° and 75° F.

 
Within the next day the beer should foam up.
 
After 5 days I added more hops for a dry flavor.


In 6-8 days the foam should disappear, which means the fermenting is done


At this point I transferred my beer into my secondary fermenter (although a secondary fermenter isn’t necessary for lighter beers, it does make the beer more pure by not giving the yeast residue time to taint the flavor. Plus I wanted to learn how to use all my equipment.)


After 12-16 days the beer should be ready to bottle.  A hydrometer reading is taken to be sure fermentation is complete.  Apparently bottles can explode if fermentation is not complete!

Bottling

Bottling was easy. I siphoned the beer into a priming container with a spout.

 
Stirred in fermenting sugar, which is what creates carbonation, when the remaining yeast eats the sugar.

 Then siphoned the beer into bottles and capped them with a double lever capper.

 
Pale Ales are good to go 2 weeks after bottling, but best after 3 weeks. 

Wednesday, December 19, 2012

Bay Rum Aftershave and Soap


For the men in my life I made something a little different this Christmas.  I found this recipe for bay rum aftershave and had to try it.  This recipe uses a West Indies bay leaf, Pimenta racemosa, which is a different type than what you buy at the grocery store, making it hard to find!  What I did find was too expensive, so I bought a bottle of Pimenta racemosa essential oil on ebay. 

Apparently sailors in the West Indies used to rub the bay leaves on their skin to cover odors.  Eventually the bay was combined with the local rum and bay rum was invented to be used in extra manly colognes and aftershaves.

8 TBSP Vodka
2 TBSP Jamaican Rum
Pimenta racemosa essential oil (I used 2 or 3 drops per bottle)
Orange essential oil (1 or 2 drops per bottle or add fresh orange zest)
¼ TSP Allspice
¼ TSP ground cinnamon


Basically I just mixed everything together in a 2-liter bottle.  Let it sit a couple days, shaking it up every once in a while.  Then strained it through coffee filters and bottled it up in recycled yeast bottles.

Yeast bottles worked perfectly for the aftershave and I added a label on the lid along with a tag explaining the origin of bay rum. 


I’ve wanted to make soap for a while, and I didn’t realize how easy they had made it!  This company makes several varieties of vegetable based soaps.  You can just buy blocks of… soap basically, at craft stores.  Just melt the soap, add oils, herbs, etc. and pour into molds.   I used the olive oil base and added the bay leaf oil, a few drops of orange oil, crushed dried sage, cinnamon and allspice. 


I wrapped each bar in wax paper, tied with ribbon, and made muscle man labels.


All in all I spent about $50 on ingredients and made thoughtful, handmade gifts for 6 people.  Plus I have quite a bit of rum left!  I tested both products on my boyfriend and they met his satisfaction.  And mine, he still smelled very manly after a full day of work!


Monday, December 3, 2012

Vegan Fudge


I always forget about fudge until the holiday season.  And then I make tons of it :) I thought fudge was so good, because it used real butter and milk.  I was wrong!  It’s all about the chocolate!  I use Earth Balance vegan butter, homemade rice milk, and unrefined sugar to replace the animal derived ingredients in in an old recipe. Tastes exactly the same as when I made it non-vegan in the past.

INGREDIENTS:
2 cup sugar
¼ TSP salt
4 oz unsweetened chocolate (or ½ CUP powder)
1 TBSP corn syrup
1 CUP rice milk
2 TBSP vegan butter
1 TSP vanilla

Using a wooden spoon, mix the sugar and salt together; then add the chocolate, corn syrup and milk.  Turn the heat to low and mix until everything dissolves.


Let the mixture heat up until it reaches between 234-240°F.  Stir as little as possible, the chocolate will boil over so use a large pot.


(If you don’t have a thermometer you can test the fudge by dropping a little in a glass of cold water.  When it’s ready it will be firm enough to form a soft ball.)
 

Add the vegan butter to the fudge and remove from heat.  Do not stir the butter in until the fudge cools to about 110°F (I usually just wait until I can easily touch the outside of the pot).


Add the vanilla and stir vigorously until the fudge loses its glossy finish and looks more matte.  Pour into a butter pan and let sit at room temperature until hardened.


Here are some fudge repair tips I found in an old cookbook:
To soften fudge: knead with hand until it becomes smooth, and then flatten into pan
To stiffen fudge:  add ¼ CUP milk, stir, heat to proper temperature, beat and pour.

Wish I had known those tricks before; the main thing with fudge is getting it to that perfect temperature.  But even mistake fudge can usually be used for something.  If the mixture doesn’t get hot enough it doesn’t solidify, but it’s great as a fudge sauce for other desserts.  If you heat the fudge over the 240°, it gets too stiff and brittle, but can be used as chocolate shavings in desserts and hot drinks.  You can’t go wrong!


Thursday, November 22, 2012

Stuffed Tofurkey


I’ve been vegetarian for over 10 years now and I’ve never made a tofurkey!  So I figured it was about time.  I looked at a bunch of different recipes, combining several but mostly followed this one; it has great pictures of each step.  It’s also an easy recipe to adapt depending on what herbs you have available.


This is a bit of a process, but after tasting the results I may be making it every year!


Basically you are making 3 parts; the “turkey”, stuffing and a marinade.  I started 2 days before Thanksgiving, because I had to drive to Columbus this morning, but you can make it work starting the day before.  And if you’re already out of time, there is always this fabulous beer can tofurkey idea!


TOFURKEY

INGREDIENTS:
3-4 14 oz containers of extra firm tofu
1-2 TBSP of each of the following herbs:
   Oregano
   Sage
   Rosemary
   Thyme
   Garlic Scapes (/Chives/Green Onions)
Salt and Pepper to taste


Let the tofu sit out overnight or at least a few hours so it’s at room temperature. 


With your hands, squeeze all the liquid you can get out of the tofu.  Then mix in the remaining ingredients.


Take a clean, wet piece of cheesecloth and drape it over a strainer.  I sprinkled some rosemary and chopped sage leaves down first.  Then scoop the tofu mix into the covered strainer.  Use the excess cheesecloth to wrap the top of the tofu and press any liquid out.  Put a bowl under the strainer and a plate on top of the cloth.  Sit in the fridge overnight and place something heavy (I used a juice bottle) on top of the plate so that the presser will continue to squeeze liquid out of the tofurkey. 


STUFFING

You can make this the day of your meal or before and refrigerate.

INGREDIENTS:
3 CUPS bread cubes
1 TSP or so olive oil
1 small red onion, finely diced
1 celery stick, finely diced
1 small apple, diced
3 TBSP herbs (I used sage, cilantro, rosemary and thyme)
Pinch of cayenne (crushed red pepper)
Salt and pepper to taste
1 TBSP maple syrup
1 TSP balsamic vinegar
½ CUP sunflower seeds or other nut/seed
¼ CUP dried fruit (I used dried goji berries from the garden but you can use cherries, cranberries, etc.)
½ CUP vegetable broth

 
First cut the bread into cubes and dry in the over for 20 minutes or so at 250°F.

 
Heat a pan with a little olive oil and sauté the onion for a few minutes until soft.

 
Add celery, cook another 2 minutes

 
Add apple, herbs and spices and cook 5 more minutes.

 
Add syrup and balsamic vinegar, mix and remove from heat.

 
Combine this mixture with the dried bread cubes, seeds and dried fruit.

 
Put the stuffing into a greased pan and pour the vegetable broth over the top.
 

Cover with foil and bake for 25 minutes at 300°F.


MARINADE

I also made the marinade the day before and let it soak in all the flavors.

 
INGREDIENTS:
¼ CUP Braggs (/soy sauce/tamari)
¼ CUP olive oil
½ CUP chopped herbs (I used sage, chives, rosemary, thyme, oregano, and parsley)
1 TSP sesame seeds, finely chopped
1-2 cloves garlic, finely chopped


Just mix everything together and keep in the refrigerator.


ASSEMBLY….


Scoop out the center of the tofurkey, leaving an inch or so on the sides.


Fill hole with stuffing, and recover with scooped out tofu.  


Then very carefully flip the whole tofurkey into a cooking pan (I just sort of picked up the whole cheesecloth, placed the baking pan on top of the tofu and flipped).


Baste with the marinade, and cook for 1 to 1 ½ hours at 350°F.  Baste the tofurkey as much as you want throughout the baking.


I had some extra stuffing, so I reheated it separately and added it in around my tofurkey!

 
Beautiful and tastes amazing!  Much better than eating something this cute…..


Wednesday, October 3, 2012

Rice + Water + Blender = Rice Milk!


I never realized how easy rice milk is!  We were buying a carton a week almost, but not anymore.   Brown rice works best since it has the most nutrients, but you can use any rice you like.
 
First cook a cup of rice.  Follow the directions on the bag, the brown rice I used took 2 ½ cups of water for 1 cup of uncooked rice. 
 

Once your rice is cooked and cooled slightly, blend it with enough water to get the blender moving freely (I usually use an equal ratio of water to rice).  You want to chop up the rice as fine as possible, so add as much water as is necessary.


When your rice mixture is a nice smooth consistency strain it into a clean bowl.  You may have to stir the little rice chunks around so the whole mixture can pass through the strainer.  Continue to strain the mixture 3 or 4 more times, cleaning your strainer and bowls in between.  (I haven’t figured out anything useful to do with the waste rice other than giving it to the chickens or compost, but it seems like it could be a good hot cereal).
 
 
Put your milk in some kind of air tight container, like an old juice or soda bottle.  Gradually add more water until you get it the consistency you desire.  I like my rice milk pretty thin so I added about 3 more cups of water. 


You can also add flavoring to the milk; such as sweetener, maple syrup, vanilla, cocoa powder, fruit, etc.  The possibilities are endless, but trust me you will not be wasting money on rice milk ever again after trying this.  Just remember to shake the milk before pouring and you can always add more water if it starts to thicken.

Sunday, September 30, 2012

Vegan Chocolate Chip Pretzel Cookie Bars


These cookies are simple and tasty.  I make this cookie dough recipe just to eat the cookie dough.  I had planned to add it to some almond milk ice cream, but we ate all the ice cream too quickly!  So I came up with this.
 
First I oiled my mini loaf pan (You could also use a cupcake pan or a large pan and cut the bars into pieces).  I layered the bottom with pretzel pieces.


I used a cookie recipe from How It All Vegan.  First mix:
1 ¾ flour
¾ tsp baking powder
¼ tsp baking soda
¼ tsp salt
¾ cups sugar
 
Then add:
½ cup oil
½ tsp vanilla
½ cup rice milk
1 cup chocolate chips (I used dark chocolate chunks)
 
Stir it all together and spoon the mixture over the pretzels.  Push the dough into the pretzels so they stick together.  Then bake at 350° for 30 minutes or until golden brown.  Pop them out of your pan and allow to cool.


Not bad for vegan cookies, but next time I will add a layer of chocolate chips and maybe put more pretzels on the top!  And they taste great dipped in coffee or rice milk.