
MATERIALS: old t-shirt, double sided fusible
web/interfacing, 1 ½ yards duck cloth, thread, paper bag
 A few weeks ago I found this Wilco t-shirt in a pile of
clothes a friend was getting rid of. I
grabbed it right away, immediately starting to brainstorm what to make out of
it. I’m pretty sure Wilco would put me
to sleep, but I know they are one my Mom’s favorite bands and her birthday is
today! The shirt had a lot of stains on
it, so I decided it would have to become a patch for a tote bag. And after a bit of searching I stumbled upon
this duck cloth that is totally my Mom’s colors!
A few weeks ago I found this Wilco t-shirt in a pile of
clothes a friend was getting rid of. I
grabbed it right away, immediately starting to brainstorm what to make out of
it. I’m pretty sure Wilco would put me
to sleep, but I know they are one my Mom’s favorite bands and her birthday is
today! The shirt had a lot of stains on
it, so I decided it would have to become a patch for a tote bag. And after a bit of searching I stumbled upon
this duck cloth that is totally my Mom’s colors!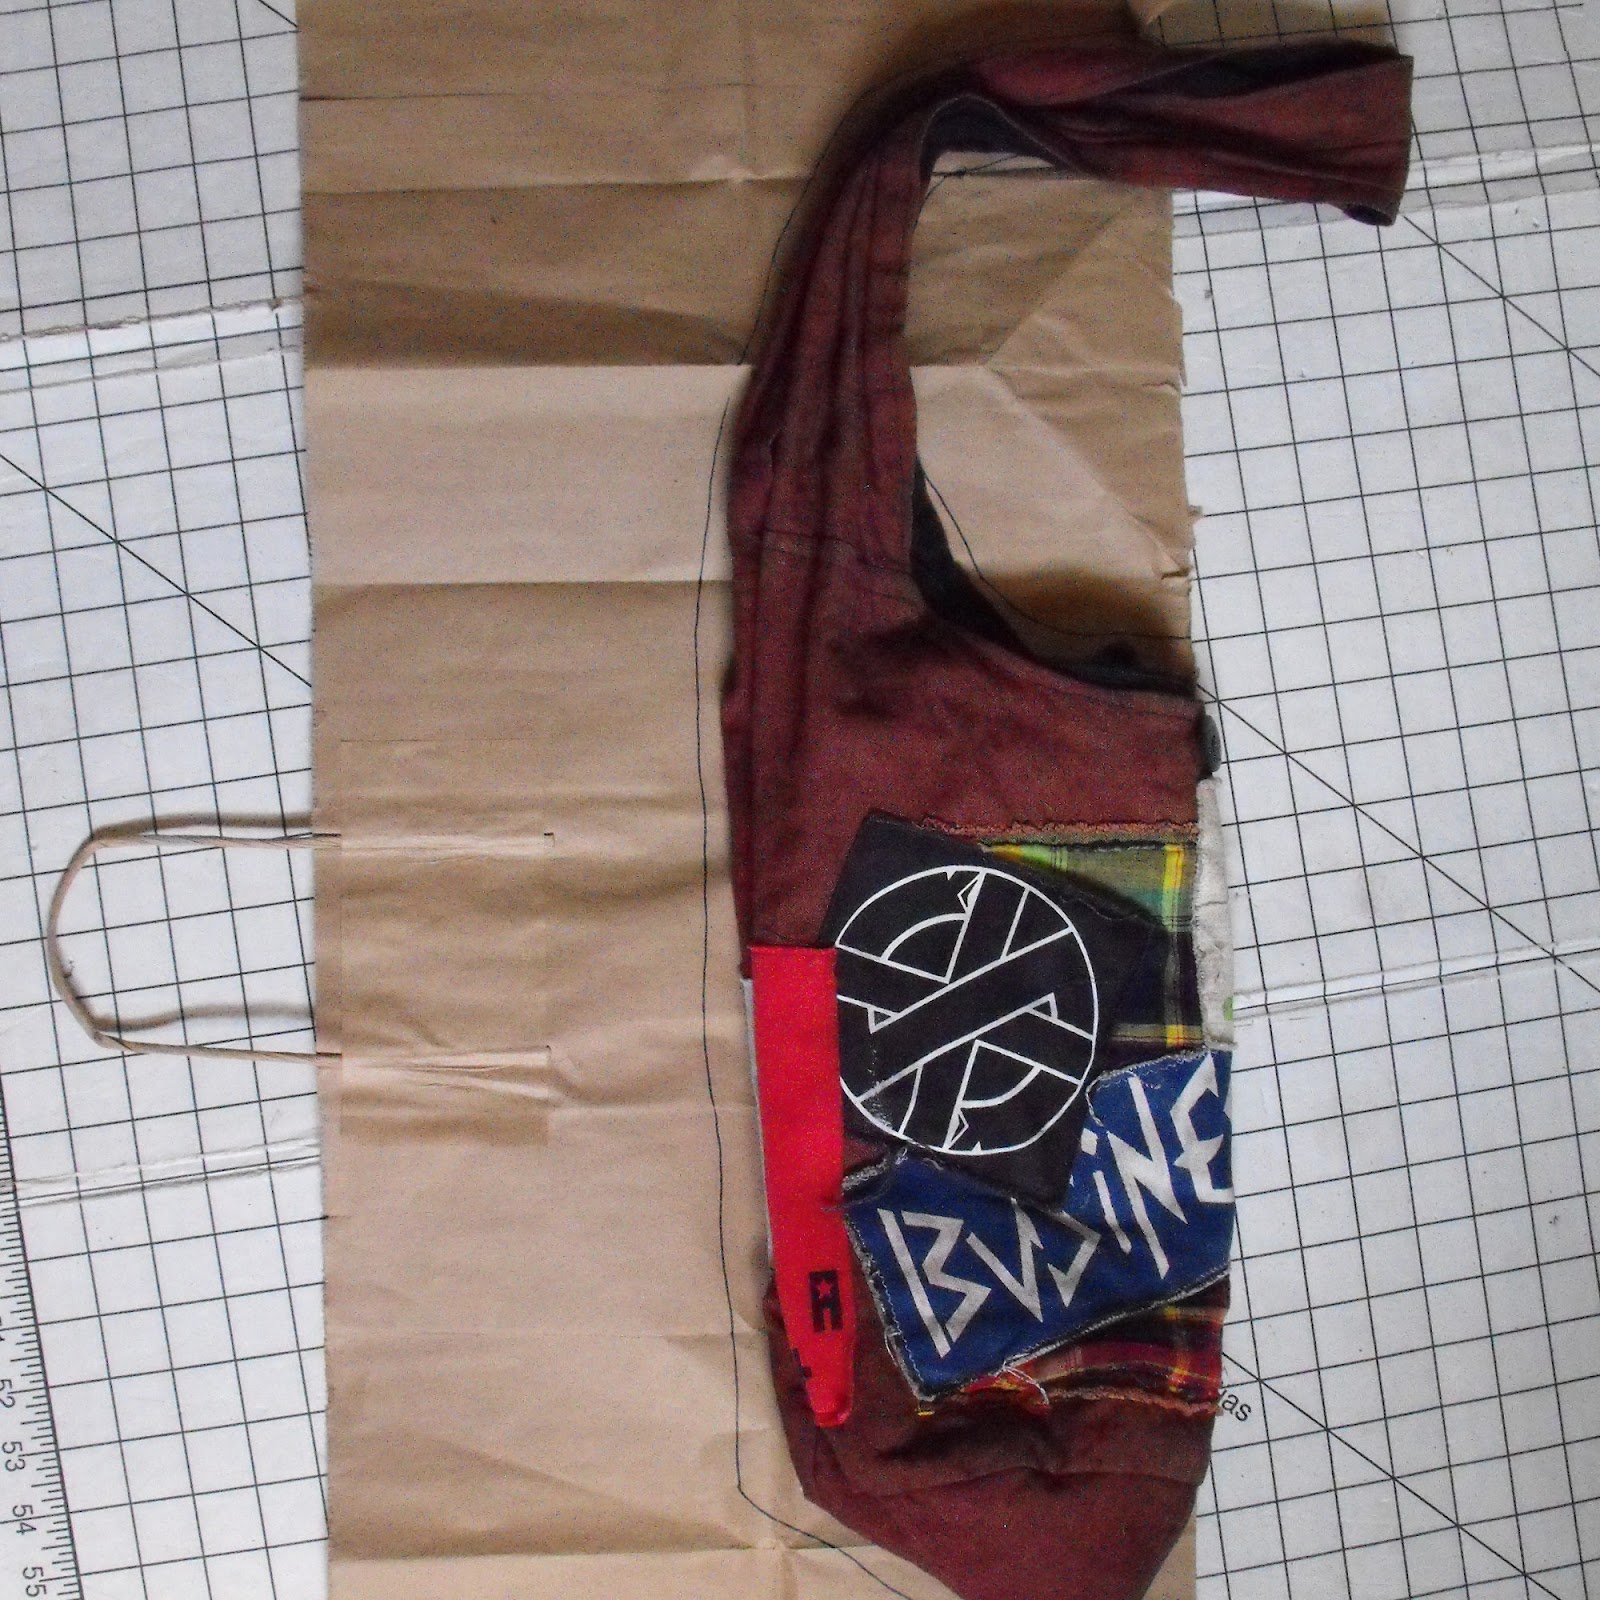 First I made my pattern by using another bag of
mine. You could easily just sketch this
basic shape out if you don’t have a similar bag. The main thing is just to have your fabric
all the same size, so the shape you use can be modified.
First I made my pattern by using another bag of
mine. You could easily just sketch this
basic shape out if you don’t have a similar bag. The main thing is just to have your fabric
all the same size, so the shape you use can be modified. Then I folded my fabric, lined my pattern up against the
fold line and cut out 4 “bib shaped” pieces.
Then I folded my fabric, lined my pattern up against the
fold line and cut out 4 “bib shaped” pieces.
 I used the excess fabric from the inner circle to make 4
pockets. I serged around the edges (or
you could press the fabric under and stitch with a regular machine) and added 2
pockets on the 2 pieces I chose to be the inside of the bag.
I used the excess fabric from the inner circle to make 4
pockets. I serged around the edges (or
you could press the fabric under and stitch with a regular machine) and added 2
pockets on the 2 pieces I chose to be the inside of the bag. Next I cut the logo on the t-shirt out and fused one side
of my fusible web to the back of the patch.
I made the patch bigger than I wanted to begin with because it’s much
easier to cut crisp lines when the fusible web is attached. So after trimming the sides down I pinned the
patch to one of my outer bag pieces, fused it to the fabric and stitched it in place.
Next I cut the logo on the t-shirt out and fused one side
of my fusible web to the back of the patch.
I made the patch bigger than I wanted to begin with because it’s much
easier to cut crisp lines when the fusible web is attached. So after trimming the sides down I pinned the
patch to one of my outer bag pieces, fused it to the fabric and stitched it in place.  I pinned the outer pieces with right sides together, (matching stripes or pattern if neccessary) and
stitched around the outside circle. I
did the same thing with the inner pieces.
Then I turned the outer piece right side out and pressed the edges.
I pinned the outer pieces with right sides together, (matching stripes or pattern if neccessary) and
stitched around the outside circle. I
did the same thing with the inner pieces.
Then I turned the outer piece right side out and pressed the edges. Now comes the hard part.
I put the inner bag piece inside the outer bag and matched up the sides. Then I pressed about ¼ inch on each side
towards the inside of the seam line, pinning as I went. I sewed each side together and there you go!
Now comes the hard part.
I put the inner bag piece inside the outer bag and matched up the sides. Then I pressed about ¼ inch on each side
towards the inside of the seam line, pinning as I went. I sewed each side together and there you go! I had a little extra fabric left over so I made a
matching coin purse by cutting 2 rectangles.
I folded them in half to make a square and then pressed ½ inch inward to
attach a zipper. It’s ok if your zipper
is bigger than the fabric, just cut off the excess.
I had a little extra fabric left over so I made a
matching coin purse by cutting 2 rectangles.
I folded them in half to make a square and then pressed ½ inch inward to
attach a zipper. It’s ok if your zipper
is bigger than the fabric, just cut off the excess. Then I turned the coin purse so that right sides were together,
and stitched up the sides. Be careful
when stitching over the zipper end, I usually just manually turning the machine
at this point so I don’t snap a needle. And
leave the zipper half open before doing this so that you can easily turn the purse
right side out and then press if necessary.
Then I turned the coin purse so that right sides were together,
and stitched up the sides. Be careful
when stitching over the zipper end, I usually just manually turning the machine
at this point so I don’t snap a needle. And
leave the zipper half open before doing this so that you can easily turn the purse
right side out and then press if necessary.
My mom’s going to love it!
No comments:
Post a Comment