Tuesday, July 31, 2012

Harvesting Radish Seeds


Yesterday my boyfriends and I spent the day making art and harvesting radish seeds.  We let about a quarter of our radishes go to seed, but I had no idea how many seeds would come off of one little radish!  I also didn’t realize you can eat the little pods that are produced, at least when they are younger and tenderer.  So I will have to try that with the next planting! 

We ended up mixing the seeds from our 2 varieties of radishes, but oh well, they are both small radishes.  Easter Egg Radish, which look like little round eggs, and Cincinnati Market Radish, which we had to try being from Cincinnati and all!  Plus they are long carrot shaped, which was pretty interesting looking and great for pickling. 


Here is what the pods looked like still on the branches.  Basically we just pulled all the pods off and then started breaking them open.  They have a strange foamy texture and break apart really easy with little mess.  So saving radish seeds is super easy!  And now we have enough seed to plant a whole radish forest!  Hopefully we can get a good fall crop in once the weather cools down a little.

Friday, July 27, 2012

Making Mustard from Seed


We had mustard greens popping up all over the garden earlier in the year.  We let one of them go to seed just to see what happened and try to save some seeds.  The plant looked like some amazing alien thing, just this tall spindly little tree with pods all over it.  For some reason it didn’t occur to me at first that this is where mustard comes from!  And I love mustard, so I had to try making it from scratch!  I used this recipe as my base, but had to cut it in half because we had nowhere near ½ cup of seeds.  You can also just buy seeds at a grocery store if you don't want to wait for plants to mature.

We harvested the mustard by cutting all the branches with pods and shoving them into a brown paper bag.  Then let it sit out of direct sunlight for a couple weeks till the pods were completely dry.


Next came the incredibly time consuming task of deseeding the pods.  My boyfriend and I sat for hours cracking open pod after pod.  When we finally had our measly amount of seeds extracted (about ¼ cup), we added them to6 cup of water and let them soak for 10 minutes.  Then added cup of apple cider vinegar and let it sit for 2 days in the refrigerator.  This site tells you everything you would ever want to know about mustard, which is where I learned to let the seeds soak in water for 10 minutes before adding the vinegar.  I also discovered here that using cold liquid helps preserve that bite that mustard has, which I definitely wanted.  But for more mellow mustard, warm liquids can be used.


Then we added ¾ tsp sugar and mashed the mixture up until it was somewhat creamy.  We put the mustard in a mason jar and then again had to wait a day or 2.  The mustard is really spicy at first, but mellows out after a couple days. 


Now I want to plant a whole bed up with mustard.  If only we had the space.  One day though!

Monday, July 23, 2012

Mini Death Shrine Earring


Ok, so it’s not really a death shrine, but it sounds way cooler calling it that!  And I did go through a lot of pain (at least monetarily!) getting those wisdom teeth removed!  The dentist looked at me like I was a little crazy when I asked if I could keep my teeth, but I knew I could do something cool with them.  Plus with the addition of some of my chicken’s feathers, this is a totally unique and personal earring.  So if you have some old teeth and feathers lying around, here’s one idea of what to do with them!

MATERIALS: teeth, feathers, wire, earring hook
First I wrapped the 2 teeth together with wire and added a little bit of glue on the back to hold them in place.  I did the same with 3 feathers, wrapping them as tight as I could and adding a bit of glue.  (Unfortunately my glue was so old it already turned yellow, but at least it’s just on the back!)


I also left plenty of extra wire attached so I could connect them once the glue dried.  I simply wrapped the teeth onto the feathers and then attached and earring hook.  Super simple, you just have to get the teeth and feather lined up how you want them and wrap away until it looks right.  Cut off any excess wire and you’re good to go!

Thursday, July 19, 2012

Keeping Up With The Garden - Basil and Upside 2-Liter Containers

It’s so hard to keep up with basil!  If you don’t keep it from flowering it gets all bitter tasting, plus cutting basil back makes the plant grow bigger.  And since I put basil in the top part of over half of our upside down 2-liter containers, we have a lot of basil!  So I had no choice but to take some time and make a huge batch of pesto!  Just look at all that basil.  And that is the biggest bowl I own!

I used my PurpleShisho Pesto Recipe as a base, substituting basil for shisho of course and eliminating the cheese.  I would have added some pine nuts if I had any, and I tried sunflower seeds a couple weeks ago and it turned out great.  But all I had was basil, garlic and olive oil.  I also decided to use a blender this time, which was way easier than a mortar and pestle and creamier.  A chunkier pesto is still awesome though, just more work.  I basically just blended the basil, added garlic and oil till I had the taste and texture I wanted, which means super garlicky!  And I mostly harvest our Spicy Globe Basil which made for an amazing pesto pizza!
Also here is an update on some of our 2-liter containers.  Everything is doing pretty well, other than a couple of the tomatoes that have outgrown their containers.  And I used a natural twine to hang some the 2-liters, which is beginning to rot out (one fell already, but survived!).  So next time I will have to stick with the nylon macramé cord I started out using.  The peppers are doing great; creating a beautiful, spicy canopy over the bench in front of the hoop house.
And I excited about our cucumbers!  I really want to make pickles this year.  So we have Russian pickling cucumbers growing down out of the containers with some dill on top.  And then some massive 18 inch long Japanese slicing cucumbers growing up out of the ground.  They are starting to get intertwined and producing a few baby cucumbers.   We’ve already had some cucumbers come out of the hoop house so I hope these are soon to follow!

Thursday, July 12, 2012

Wilco Circle Tote Bag for Mom


MATERIALS: old t-shirt, double sided fusible web/interfacing, 1 ½ yards duck cloth, thread, paper bag

A few weeks ago I found this Wilco t-shirt in a pile of clothes a friend was getting rid of.  I grabbed it right away, immediately starting to brainstorm what to make out of it.  I’m pretty sure Wilco would put me to sleep, but I know they are one my Mom’s favorite bands and her birthday is today!  The shirt had a lot of stains on it, so I decided it would have to become a patch for a tote bag.  And after a bit of searching I stumbled upon this duck cloth that is totally my Mom’s colors!

First I made my pattern by using another bag of mine.  You could easily just sketch this basic shape out if you don’t have a similar bag.  The main thing is just to have your fabric all the same size, so the shape you use can be modified.


Then I folded my fabric, lined my pattern up against the fold line and cut out 4 “bib shaped” pieces. 


I used the excess fabric from the inner circle to make 4 pockets.  I serged around the edges (or you could press the fabric under and stitch with a regular machine) and added 2 pockets on the 2 pieces I chose to be the inside of the bag.


Next I cut the logo on the t-shirt out and fused one side of my fusible web to the back of the patch.  I made the patch bigger than I wanted to begin with because it’s much easier to cut crisp lines when the fusible web is attached.  So after trimming the sides down I pinned the patch to one of my outer bag pieces, fused it to the fabric and stitched it in place. 


I pinned the outer pieces with right sides together, (matching stripes or pattern if neccessary) and stitched around the outside circle.  I did the same thing with the inner pieces.  Then I turned the outer piece right side out and pressed the edges.


Now comes the hard part.  I put the inner bag piece inside the outer bag and matched up the sides.  Then I pressed about ¼ inch on each side towards the inside of the seam line, pinning as I went.  I sewed each side together and there you go!


I had a little extra fabric left over so I made a matching coin purse by cutting 2 rectangles.  I folded them in half to make a square and then pressed ½ inch inward to attach a zipper.  It’s ok if your zipper is bigger than the fabric, just cut off the excess.


Then I turned the coin purse so that right sides were together, and stitched up the sides.  Be careful when stitching over the zipper end, I usually just manually turning the machine at this point so I don’t snap a needle.  And leave the zipper half open before doing this so that you can easily turn the purse right side out and then press if necessary. 


My mom’s going to love it!

Monday, July 9, 2012

Pole Bean Project


Gardening is all about experimentation for me. We are constantly learning what works best in which areas and next to which plants. This mindset of constant learning also helps us deal with disappointment when something doesn't work out, because we just think about how we can do it better next year.

One project I'm really excited about is our 10 foot Rattlesnake Pole Beans from Fedco that we planted up against the front of the house.  Basically we made posts out of old wire coat hangers.  We straightened the wire out flat and then cut each hanger in half by bending it back and forth in the same spot so it eventually broke apart.  Then we bent one side into a loop like this...

We shoved these posts into the ground as far as we could.  Then stapled long pieces of string to the outside edge of our windows, and attached the other side to the loop on our posts, pulling the string taught.  Then we planted our beans around the posts and waited to see what happened.

So far so good.  The beans are growing up the strings, only about 3 feet high at this point, but hopefully they will get close to the windows by the end of the summer.  All our windows are south facing and we don't have air conditioning so this should not only give us lots of beans, but also help cool the house a little by providing shade.


*UPDATE* Sunday August 6th, 2012

The beans are doing great! Almost reaching the second story window, which is even taller than they typically grow. We harvested our first 2 beans today and threw them in a salad. Taste great and look awesome growing up the house.


Sunday, July 8, 2012

Praying Mantises and Job’s Tears: Two of the best things in life


This morning I was admiring our huge pot of Job’s Tears and found a praying mantis hanging out.  I’m always happy to see a praying mantis, but especially in our garden.  We had a massive invasion of pests at the beginning of the season and lost many seedlings and early crops, so we can use all the help we can get!  And it’s always good to identify which plants praying mantises like, since they do wonders for the garden.  My step-mom’s sweet pea plants would attract lots of the little guys!  They seem drawn to plants with long spindly pieces that help them blend in and hunt.
If you haven’t heard of Job’s Tears, or Coixseed, you’re in for a surprise.  This is one of the coolest plants out there and it grows like weeds!  It’s a tropical grass (but grows great in Ohio!) producing multiple seeds with a natural hole and hard shell, making them perfect for beads.   A lot people use them in rosaries and jewelry.  While looking around on Etsy I discovered that there are other varieties. 

The ones we grow look like these that AuthenticSeeds sells....


But it turns out there is also a brownish variety grown in Hawaii and sold by hilobeads ....


 And a long, thin variety grown by HonnVillage in Thailand….


I definitely want to buy some of these other types and see if we can grow them out here in the MidWest.  And if you’re interested in just trying some seeds I know Fedco and Baker Creek sell seeds too.  I can’t wait to have a farm one day and have an enormous patch of Job’s!  They feel amazing against your skin too, all cold and silky.  Some friends and I joke about making whole outfits out of them, might have to start a little smaller though, like a bikini or maybe a short skirt.

Wednesday, July 4, 2012

How I Spent my 4th of July

After a busy weekend of camping, punk rock and too much sun, I was ready to just relax today and do the things I love doing.  I spent the day trying to beat the heat by sewing, listening to rock and roll and eating ice cold moonshine cherries I picked up in Tennessee.  Now I'm off to check out a local hip hop show and hang out with good people.

And check out these awesome items I put together in my fourth of july treasury on etsy... 


'Don't Fly Those Stars and Stripes for Me' by RayGunUnDone

Don't get me wrong, I love living in the US and I appreciate the freedom I do have. But the greed and warmongering drives me crazy! So until our government can learn to be a peaceful and benevolent, don't fly that flag for me!

American Legacy
$60.00
POLITICAL FRIDGE MAGNET...
$3.99
US Oil Wars T-shirt. If...
$12.99
vintage american milita...
$14.99
Give Me Liberty or Give...
$5.00
Forest Wins - Large Scr...
$7.00
1984 Was Not Supposed T...
$11.99
american flag usa unite...
$40.00
In War We Trust
$300.00
Howard Zinn Activist Au...
$0.99
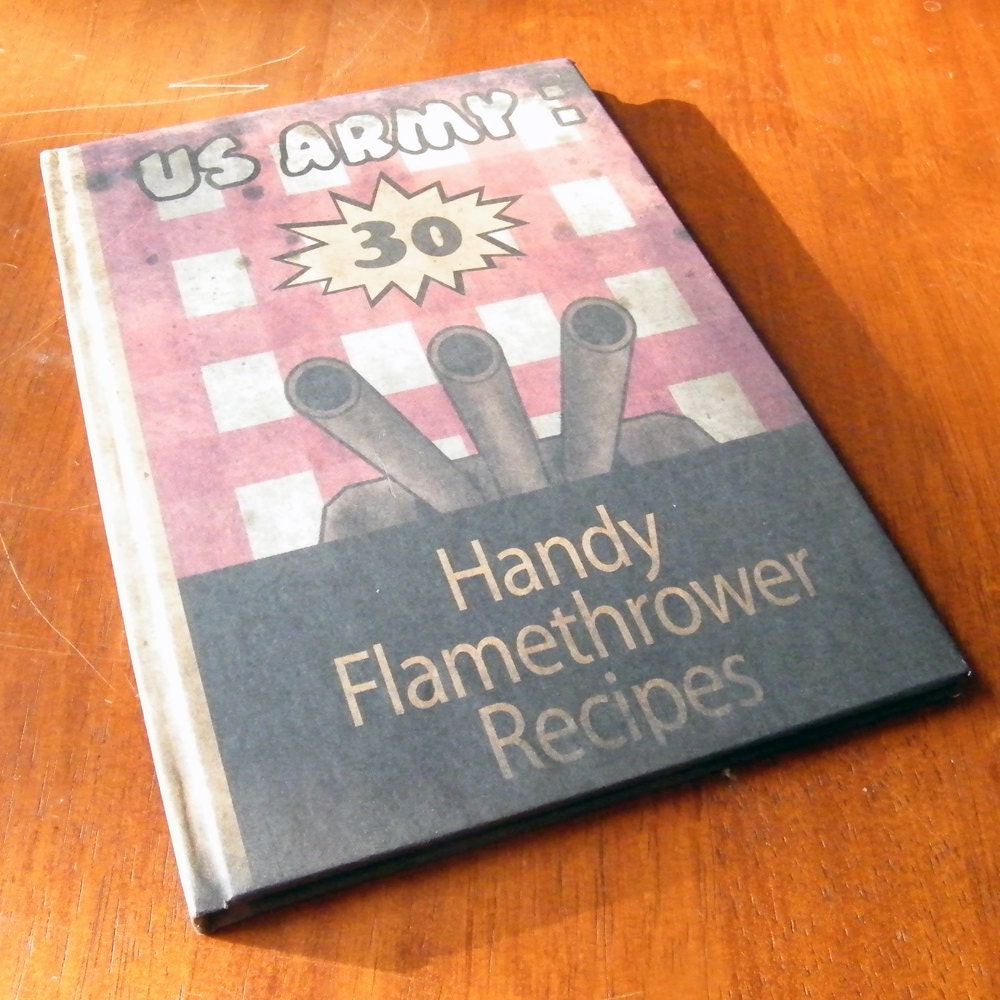
US army : 30 handy flam...
$7.00
No Human Being Is Illeg...
$11.99
I am Ashamed to be an A...
$25.00
Kissin' Bombs custo...
$175.00
Heres Your Warning - Gr...
$20.00
I Pledge Allegiance and...
$14.99