Showing posts with label vegetables. Show all posts

Friday, April 19, 2013

Preparing the Garden for 2013

Well we have been insanely busy down here in the Maketewah Valley.  This year my boyfriend and I are working at 3 different garden spots in the neighborhood, with help from some friends too!  It's been rather tough working full time, and spending every free hour of sunlight digging and turning beds!  I’m worn out, but the big projects are done!  Here is a brief overview on what we’ve been doing…..
One of gardens is in a friend’s yard down the block, just a big grassy backyard; perfect for bigger plants that need more water (easy access to a hose).  We dug a few beds out last year, but this year we made them larger and used the cut strips of sod to build up a natural border.  Added compost and leaf mold so they are ready! 
The border will be nice so we can keep building up that soil.  The two long beds in the back grew our corn, beans, gourds and amaranth last summer; but this year I’m trying tobacco! More about that later :)  The huge bed adjacent to the tobacco beds will be full of peppers and okra.  We threw some peas in for now; they should be about done by the time the peppers are going in.

At our house we are starting lots of seeds. 
Everything is doing great!  We have a small hoop house for starting seeds and storing tools.  We set up a heater a couple nights last month when the temperature dropped below freezing, but for the most part the hoop house stayed warm enough.

Here is a look inside….
We put our seedlings in tubs with glass or plastic bags over them to keep everything warm and moist.   Now that the temperature is rising, we remove the covers in the morning otherwise the seedlings will get fried. 
We used these old metal storage containers to hold planters and then wrapped a large trash bag around them at night.
My boyfriend started some basil in these 2 liter bottles.  Just cut them in half, add water and a cotton “wick” and plant.  Seem to be working out so far, and you don’t have to worry about watering.
For this large, floating tobacco tray we just set up scrap wood barriers with glass and plastic on top.; which worked perfectly for starting greens.


Our compost piles....
We have been having beautiful weather here, so we took this opportunity to turn our compost piles.  We have two big piles and two small ones, so we started with the bigger pile.  Fork it up, then turned the adjacent pile into the first pile.  Once we got all the stuff that was still decomposing turned into the first pile; we collected the pure, worm filled compost in plastic tubs and trash cans.
The plan is to let the compost dry out in these tubs over the summer.  The tubs and trash cans are pretty deep so we will have to mix them up so the compost dries evenly.  Drying the compost makes it easier to work with.  Rather than adding a handful of compost mush to your soil, you’re adding dry compost mulch that easily forks into the soil and spreads evenly.
We covered the tubs in plastic bags to keep the rain out, and we will go from there this summer.  We turned the smaller compost piles onto the large pile.  Now we have one huge pile that is close to being done.  The chickens get to scratch around in this pile; turning it up, eating bugs and pooping all over making our compost into gold!  We throw our food scraps in the smaller piles, layering it with yard waste and old hay from the chicken coop.  Another benefit of having our compost organized in various stages of decomposition is that we don’t have to worry about the chickens eating things they shouldn’t out of the food scraps, like egg shells and avocado skins.  Dirty work, but the plants will thank us later!

Winter rye was planted all over last fall as a cover crop. So we turned it all over and added leaf mold and compost to prepare those beds. Took a bit of work, but the soil looks beautiful and ready to go. 
We also rolled all the plastic off our hoop houses, so the garden is ready for spring and summer.  Currently we have peas, onions, greens and lettuces planted.  The fruit trees are blooming, all our perennial herbs are coming back and the seedlings are growing strong.  This year looks very promising! 


Tuesday, March 19, 2013

DIY Natural A-Frame Trellis Part 1

Today my boyfriend and I started making trellises for our peas, cucumbers, gourds and melons.  We had an abundance branches from cut trees.  So we dug through the pile of tree limbs matching similar size branches. 
Basically we started with a tripod.  Taking 3 branches and anchoring them together using the natural notches in the stick to lock them in place.  We wound the thickest jute I could find around the sticks, wrapping tightly and knotting in multiple places. 
We built 2 tripods close to the same height.  Then put a long, relatively straight beam across the tripods giving us a well supported a-frame.   We tied the center beam down, although it didn’t seem necessary because they are pretty sturdy as they are.
We made a couple for the house garden, and 3 others to take to our other gardens in the neighborhood.  We tied them up in little bundles so we can carry them easily and remember which branches go together.  It seems to be easier to set the frame up on site, rather than carry tripods.  Once you have some branches picked out it really only takes about 15 minutes to put together. 
And best of all these trellises are all natural and biodegradable, just compost or burn when you’re done.  We haven’t decided what to put across the sides to encourage the plants to grow up the frame.  Wire fencing, bird netting, or jute is what we are debating. Jute will work for peas and possibly for cucumbers if strung in a grid, but that will be figured out in Part 2.

Monday, March 4, 2013

Homemade Spinach and Mushroom Ravioli

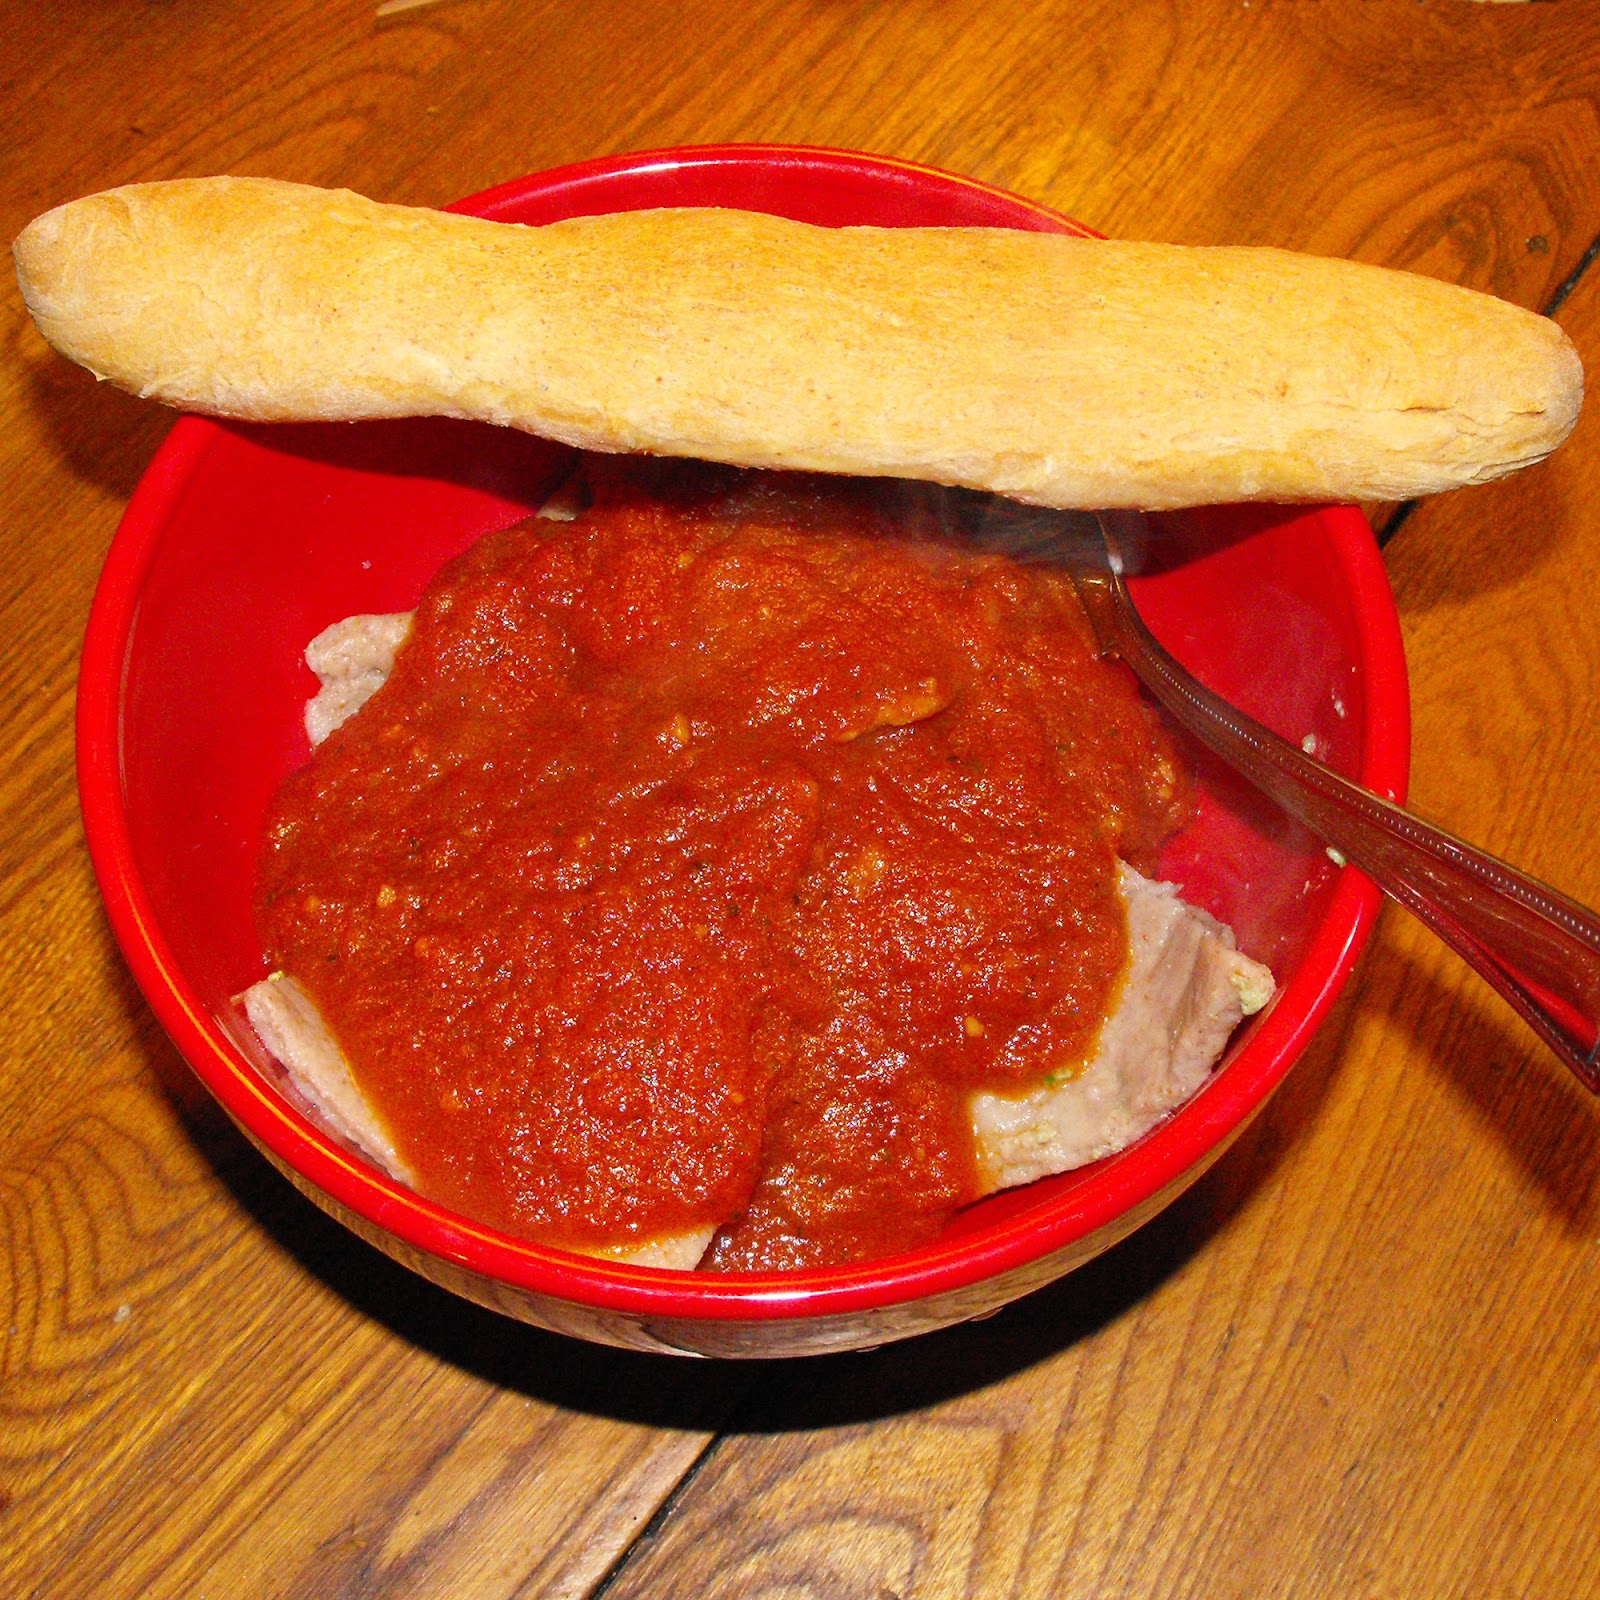
Well I think this is the hardest I’ve ever worked for a meal.  My boyfriend and I were sweating by the time we finished hand rolling our pasta; we are definitely ready to invest in a pasta roller!  We also made a fresh batch of pasta sauce and baked bread sticks, but the ravioli was the real accomplishment.


FILLING:

Blend:

1 CUP chopped mushrooms and spinach (substitute or add any veggies / herbs you like)
1 CUP ricotta cheese
2 eggs

Store in refrigerator until ready to use

PASTA:

Mix:

2 CUPS whole wheat flour (or other grains)
3 eggs
Pinch of salt
Knead dough for 10 minutes then roll flat either by hand or preferably with a pasta roller :)

Flatten until it’s as thin as a penny.

Then place spoonfuls of filling on one side of pasta, fold in half and press around seams to encase filling.
Cut between raviolis with pizza cutter or knife and press edges together with a fork.
Cover raviolis with flour to keep them from sticking to one another.
Cook in boiling water for 5-10 minutes, until raviolis float.


Drain water and add sauce.


I have to say, as much work as it was; these are the best raviolis I’ve ever eaten!   Such a simple and versatile recipe too, I will be making these again.


Printable recipe here.

Saturday, February 23, 2013

Radish Butter Toast


Radishes are so easy to grow, and they ripen in 25 days or so!  Plus one seed produces hundreds of seeds if you allow the plant to flower and form pods.   So once you start growing your own radishes you will never need to buy seed again… or radishes. 

 
I’m often caught with a bunch of ripe radishes ready to go so I’m always looking for new radish recipes and I kept seeing variations on this recipe.  Apparently this idea originated in France, a perfect topping for baguettes.   And since I had a bed full of over ripe radishes, I had to do something fast.  I went for the Martha Stewart version.  A lot of times people just slice the radishes,  but since my radishes  were in the ground a little too long I had to cut off some rotten/hard  sections , so grating them sounded like a better option this time. 

 
This recipe is so simple; you don’t really need exact measurements.  Basically just smash grated radish together with room temperature butter.

 
I lightly toasted my baguette, made using this recipe.

Then spread the radish butter mixture on the warm toast, slice and serve.

I took these as an appetizer to a family dinner and we devoured them.  I will definitely use this recipe again.  Spring is almost here, so next time I will be able to use fresh radishes!