Showing posts with label diy. Show all posts

Sunday, June 9, 2013

Minecraft Plushy


My little brother has been into this Minecraft game for some time now, so I finally decided to figure out what it’s all about.  It definitely looks like a game I could get into if I only had the time!

 
My brother turned 13 this year, so he is at an age that can be difficult to craft for.  That’s why I had to do some research!  If I had planned ahead a little better I would have done something more.  Pixelated games just work so perfect for craft projects!  But I was running out of time, so in addition to some art supplies I whipped up this super simple creeper head plushie.

 
I cut out 6 squares of green felt about 4 inches wide.  Then cut the eyes and mouth out in black and stitch to one square.
 

Stitch all the square sides together except one.
 

Stuff the little guy with fiberfill/pellets

 
Stitch the last side together and you have this adorably creepy little creature to watch over you.  My brother loved it :)

Sunday, April 21, 2013

Citrus and Herb Soap Recipe

A simple soap recipe for adding to melt and pour soap bases; I added the following herbs to this company’s olive oil base. 

INGREDIENTS:

Lime peels, grated
Carrot, grated
Rosemary, finely chopped
Stinging Nettle Leaves, finely chopped
Orange essential oil
4 Leaf Clovers, dried (for decoration)
Melt the soap in a double broiler

Add herbs, oils, etc.

Pour into mold

Then I pressed 4 leaf clovers into the soap

Allow to cool and harden completely


Beautiful!

Friday, April 19, 2013

Preparing the Garden for 2013

Well we have been insanely busy down here in the Maketewah Valley.  This year my boyfriend and I are working at 3 different garden spots in the neighborhood, with help from some friends too!  It's been rather tough working full time, and spending every free hour of sunlight digging and turning beds!  I’m worn out, but the big projects are done!  Here is a brief overview on what we’ve been doing…..
One of gardens is in a friend’s yard down the block, just a big grassy backyard; perfect for bigger plants that need more water (easy access to a hose).  We dug a few beds out last year, but this year we made them larger and used the cut strips of sod to build up a natural border.  Added compost and leaf mold so they are ready! 
The border will be nice so we can keep building up that soil.  The two long beds in the back grew our corn, beans, gourds and amaranth last summer; but this year I’m trying tobacco! More about that later :)  The huge bed adjacent to the tobacco beds will be full of peppers and okra.  We threw some peas in for now; they should be about done by the time the peppers are going in.

At our house we are starting lots of seeds. 
Everything is doing great!  We have a small hoop house for starting seeds and storing tools.  We set up a heater a couple nights last month when the temperature dropped below freezing, but for the most part the hoop house stayed warm enough.

Here is a look inside….
We put our seedlings in tubs with glass or plastic bags over them to keep everything warm and moist.   Now that the temperature is rising, we remove the covers in the morning otherwise the seedlings will get fried. 
We used these old metal storage containers to hold planters and then wrapped a large trash bag around them at night.
My boyfriend started some basil in these 2 liter bottles.  Just cut them in half, add water and a cotton “wick” and plant.  Seem to be working out so far, and you don’t have to worry about watering.
For this large, floating tobacco tray we just set up scrap wood barriers with glass and plastic on top.; which worked perfectly for starting greens.


Our compost piles....
We have been having beautiful weather here, so we took this opportunity to turn our compost piles.  We have two big piles and two small ones, so we started with the bigger pile.  Fork it up, then turned the adjacent pile into the first pile.  Once we got all the stuff that was still decomposing turned into the first pile; we collected the pure, worm filled compost in plastic tubs and trash cans.
The plan is to let the compost dry out in these tubs over the summer.  The tubs and trash cans are pretty deep so we will have to mix them up so the compost dries evenly.  Drying the compost makes it easier to work with.  Rather than adding a handful of compost mush to your soil, you’re adding dry compost mulch that easily forks into the soil and spreads evenly.
We covered the tubs in plastic bags to keep the rain out, and we will go from there this summer.  We turned the smaller compost piles onto the large pile.  Now we have one huge pile that is close to being done.  The chickens get to scratch around in this pile; turning it up, eating bugs and pooping all over making our compost into gold!  We throw our food scraps in the smaller piles, layering it with yard waste and old hay from the chicken coop.  Another benefit of having our compost organized in various stages of decomposition is that we don’t have to worry about the chickens eating things they shouldn’t out of the food scraps, like egg shells and avocado skins.  Dirty work, but the plants will thank us later!

Winter rye was planted all over last fall as a cover crop. So we turned it all over and added leaf mold and compost to prepare those beds. Took a bit of work, but the soil looks beautiful and ready to go. 
We also rolled all the plastic off our hoop houses, so the garden is ready for spring and summer.  Currently we have peas, onions, greens and lettuces planted.  The fruit trees are blooming, all our perennial herbs are coming back and the seedlings are growing strong.  This year looks very promising! 


Tuesday, March 19, 2013

DIY Natural A-Frame Trellis Part 1

Today my boyfriend and I started making trellises for our peas, cucumbers, gourds and melons.  We had an abundance branches from cut trees.  So we dug through the pile of tree limbs matching similar size branches. 
Basically we started with a tripod.  Taking 3 branches and anchoring them together using the natural notches in the stick to lock them in place.  We wound the thickest jute I could find around the sticks, wrapping tightly and knotting in multiple places. 
We built 2 tripods close to the same height.  Then put a long, relatively straight beam across the tripods giving us a well supported a-frame.   We tied the center beam down, although it didn’t seem necessary because they are pretty sturdy as they are.
We made a couple for the house garden, and 3 others to take to our other gardens in the neighborhood.  We tied them up in little bundles so we can carry them easily and remember which branches go together.  It seems to be easier to set the frame up on site, rather than carry tripods.  Once you have some branches picked out it really only takes about 15 minutes to put together. 
And best of all these trellises are all natural and biodegradable, just compost or burn when you’re done.  We haven’t decided what to put across the sides to encourage the plants to grow up the frame.  Wire fencing, bird netting, or jute is what we are debating. Jute will work for peas and possibly for cucumbers if strung in a grid, but that will be figured out in Part 2.

Sunday, March 3, 2013

Sarsaparilla Soda


No matter how hard I try to cut soda out of my diet, I just can’t help but grab one every once in a while!  So it might as well be homemade.

For the first time around I bought a couple soda extracts from my local brewery supplier, sarsaparilla and birch beer.  Which it turns out, both are basically just root beer, coming from different plants but similar in taste.


Recipe went as follows…

Rehydrate 1 tsp brewer’s yeast in warm water.
Combine soda extract, 4 lbs (or 8 cups) sugar with enough warm water to dissolve.

 
Stir in yeast and add warm water until you have 4 gallons of soda.

 
Fill bottles leaving 1-2 inches of head space.

 
Age 3-4 days at room temperature, then store in cool, dark place for total aging of 2 weeks
Refrigerate and enjoy! 
(My 4 gallons filled 28 12 oz. glass bottles and 2 2 liter soda bottles)

 
Can’t wait, it already tastes good, just needs to carbonate.

Friday, February 8, 2013

Preparing the Chickens for Winter


I should have posted this a few months ago, but towards the end of fall we started to winterize the chicken coop.  Our birds are pretty much out in the open so we needed to give them protection from the elements.  We tend to just work with what we have, which luckily is a lot of gardening equipment left from the previous owner.  So a few tarps, some PVC, recycling and lots of hay has gotten our chickens through the winter!

We covered the roof and two sides of the coop in a large tarp.  The back of our coop is also almost all covered, except for a 2 foot strip of chicken wire which has been left open for air flow.  The front side of the coop is also left open, and we have a large board that we can place in front of the coop for extremely cold or snowy nights.  Air flow is important because too much moisture in the coop can lead to frostbitten chickens!


We had issues in the beginning with water pooling up in the tarp flat across the roof.  So we rigged up a mini hoop house by feeding PVC pipe through the lattice roofing.  The rain and snow just slides right off and keeps the coop relatively dry.


The chickens sleep in this box, which has a wire floor.   Throughout the winter we keep the bottom layer full of hay.   I have to clean it almost daily, or every other day just to help keep the moisture out.  I just use a small shovel and clean it like a litter box, changing the hay out every week or as needed.  We put another tarp over the little house on extra cold nights, below 20° F.


We have also made few additions to the coop since they started laying eggs.  The nesting box is simply an old dog cage with 2 milk crates full of hay.  Works perfectly!


We hung their food bin from the roof which has kept it much cleaner.  I want to hang the water but I’m a little afraid of the weight. 


This is where the grit and oyster shells are.  Simply an old plastic sugar jug cut in half and stapled to the wall.


So far so good, all the chickens are healthy and happy.  And hopefully only another month or so of cold nights to get through!

Tuesday, February 5, 2013

Brewing Beer

This Christmas my Dad and stepmom set me up with a complete beer making kit.  I thought about asking for one for Christmas but never did, they know me too well!  I had an American pale ale recipe for my first brew.  The kit had everything I would need already measured out, so it was a good way to start brewing. 

I’m just going to go over the basics to give you an idea of the process, because basically I just followed the recipe in my kit.  It was relatively simple and very rewarding! 

Cooking the Beer

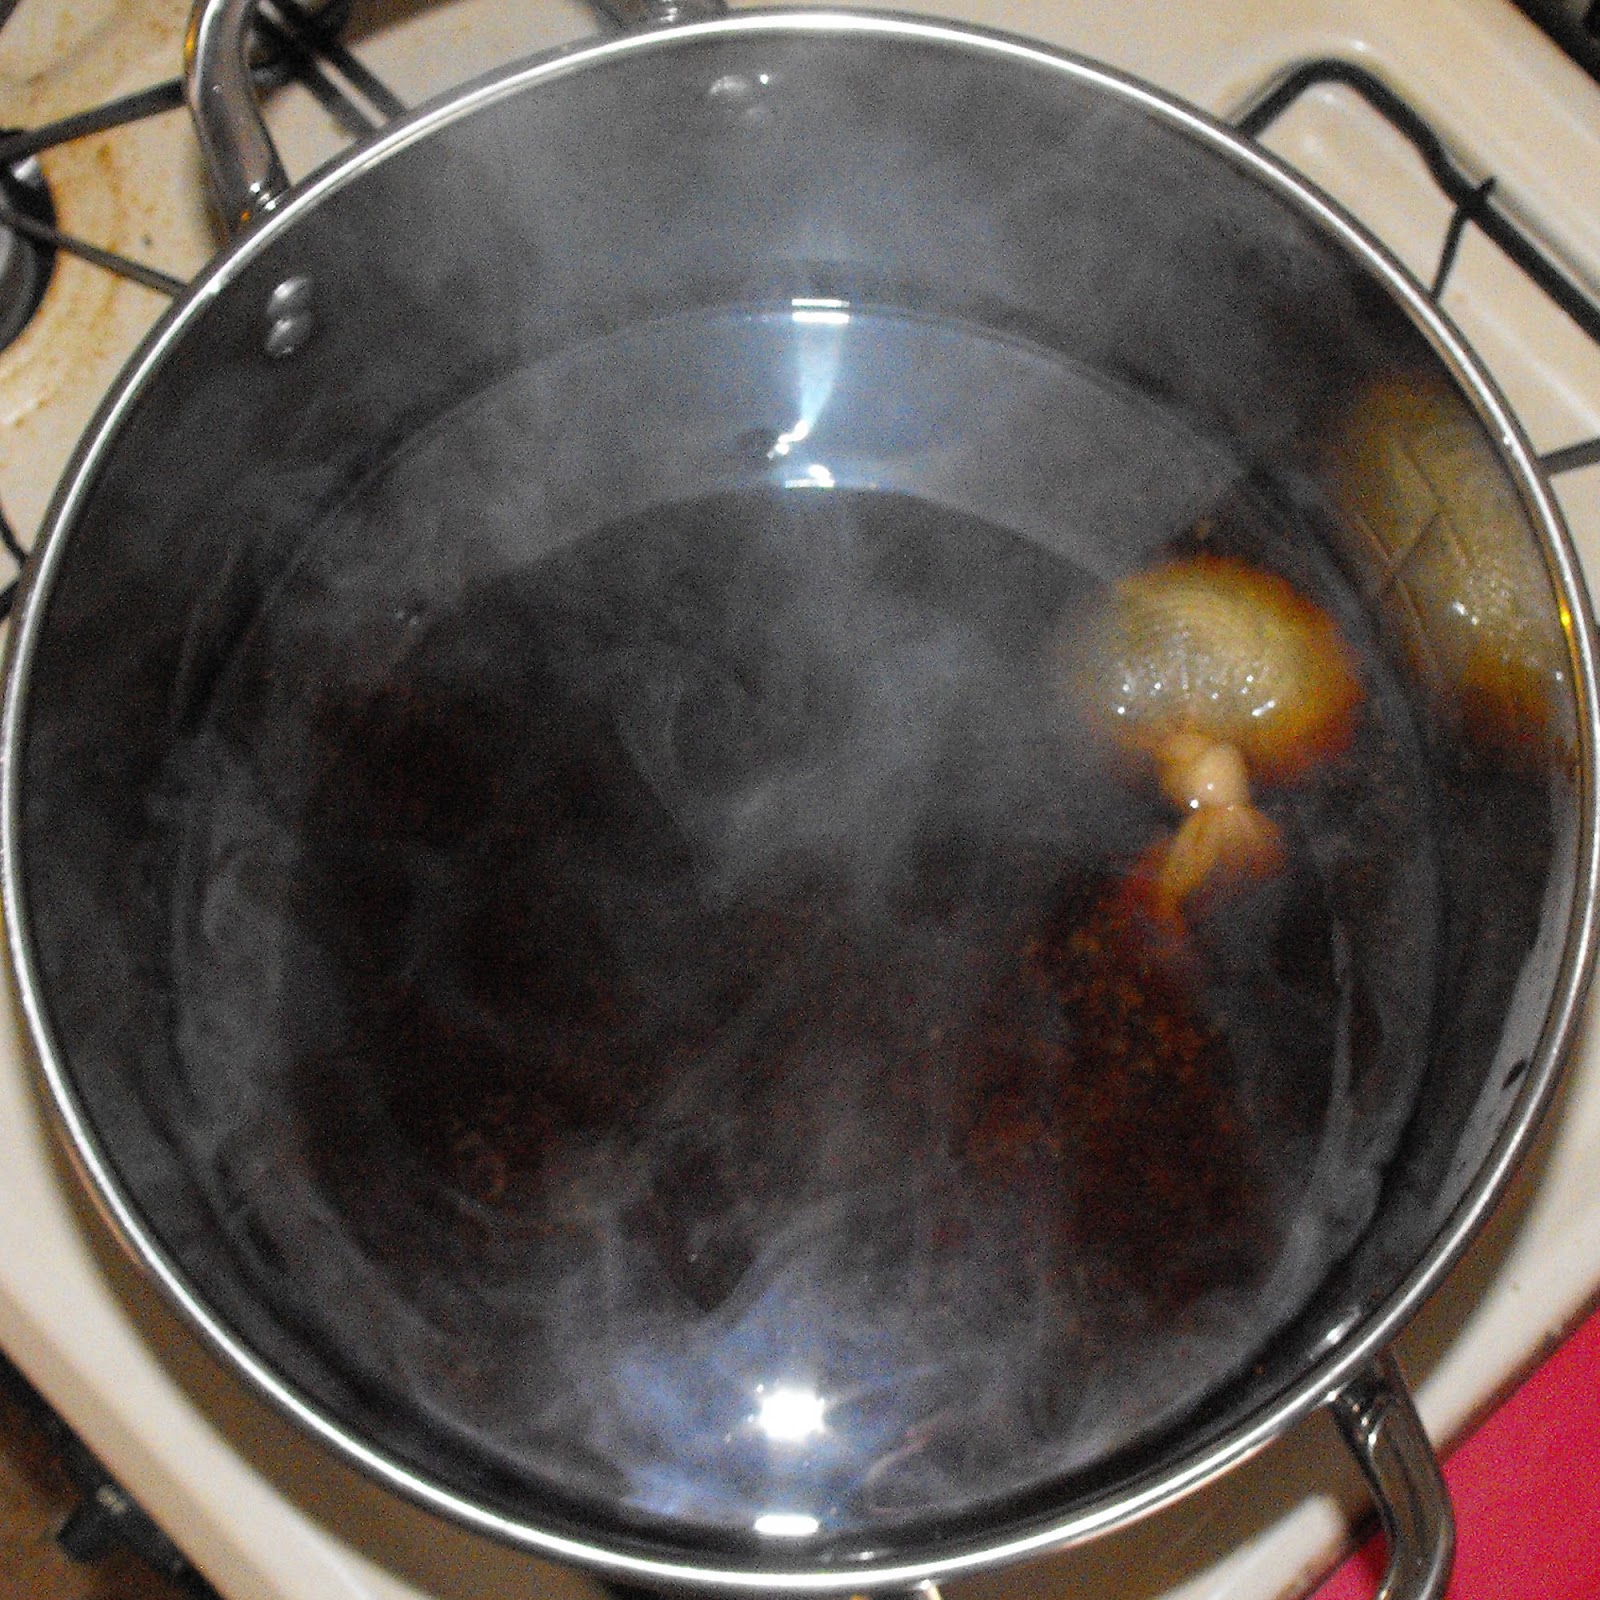
First I poured the grain into a muslin bag and tied it shut, dropping it into 2 gallons of water.  Heat to 150°F, then reduce heat and let simmer for 30 minutes, draining grain bag occasionally to let all the flavors seep out.


Remove grain bag, bring to a boil then remove pot from heat and stir in malt extract syrup. 


Next add the hops, hops are added at different stages of the brew for different flavors. 

The first hops added are for bitterness, and then the beer is boiled for 45 minutes.

The next hops for flavoring, and boil another 15 minutes.

Another batch of hops is added for aroma, the heat is turned off and the brew sits for 10 minutes.

Remove hop bag and sit pot in sink filled with cold water until it cools to 100°F

 
Fermentation
 
Siphon or pour brew into primary fermenter and add yeast stirring to aerate mixture.


Cover fermenter and put out of direct sunlight and ideally between 65° and 75° F.

 
Within the next day the beer should foam up.
 
After 5 days I added more hops for a dry flavor.


In 6-8 days the foam should disappear, which means the fermenting is done


At this point I transferred my beer into my secondary fermenter (although a secondary fermenter isn’t necessary for lighter beers, it does make the beer more pure by not giving the yeast residue time to taint the flavor. Plus I wanted to learn how to use all my equipment.)


After 12-16 days the beer should be ready to bottle.  A hydrometer reading is taken to be sure fermentation is complete.  Apparently bottles can explode if fermentation is not complete!

Bottling

Bottling was easy. I siphoned the beer into a priming container with a spout.

 
Stirred in fermenting sugar, which is what creates carbonation, when the remaining yeast eats the sugar.

 Then siphoned the beer into bottles and capped them with a double lever capper.

 
Pale Ales are good to go 2 weeks after bottling, but best after 3 weeks. 

Friday, December 28, 2012

Edward Scissorhands Skirt Recon for my Sister’s Birthday

I can’t believe it, but my youngest sister turns 16 today!  She, like most young girls I suppose, loves Johnny Depp.  So I looked all over eBay and Etsy for the coolest Johnny Depp t-shirt I could find, and came up with this one….
Pretty cool shirt!  I turned it into a fabulous skirt (or tube top), by added drawstrings to the sides and an elastic waistband.
I should have taken more pictures of each step, but here is an inside shot of the drawstring.  I basically cut the shirt into rectangular pieces and serged (or use a sewing machine) a 6 or 7 inch strip of stretchy knit fabric to each side of the t-shirt.  Then I folded the strip in half and stitched about 1 ½ inches in to form a “pocket” for the drawstring.  I then pressed the “pocket” down evenly and stitched up the center to form 2 “pockets”.  I made the drawstrings and pulled them up one side of the skirt and back down using a safety pin to guide the string through the “pockets”.  I tied each end; you could also use a bead as a stopper if you can find one with a big enough opening to fit the fabric through.  Then I simply hemmed the loose edges, sewed an elastic waistband to the top and trimmed any excess fabric.