Showing posts with label herbs. Show all posts

Sunday, April 21, 2013

Citrus and Herb Soap Recipe

A simple soap recipe for adding to melt and pour soap bases; I added the following herbs to this company’s olive oil base. 

INGREDIENTS:

Lime peels, grated
Carrot, grated
Rosemary, finely chopped
Stinging Nettle Leaves, finely chopped
Orange essential oil
4 Leaf Clovers, dried (for decoration)
Melt the soap in a double broiler

Add herbs, oils, etc.

Pour into mold

Then I pressed 4 leaf clovers into the soap

Allow to cool and harden completely


Beautiful!

Friday, April 19, 2013

Preparing the Garden for 2013

Well we have been insanely busy down here in the Maketewah Valley.  This year my boyfriend and I are working at 3 different garden spots in the neighborhood, with help from some friends too!  It's been rather tough working full time, and spending every free hour of sunlight digging and turning beds!  I’m worn out, but the big projects are done!  Here is a brief overview on what we’ve been doing…..
One of gardens is in a friend’s yard down the block, just a big grassy backyard; perfect for bigger plants that need more water (easy access to a hose).  We dug a few beds out last year, but this year we made them larger and used the cut strips of sod to build up a natural border.  Added compost and leaf mold so they are ready! 
The border will be nice so we can keep building up that soil.  The two long beds in the back grew our corn, beans, gourds and amaranth last summer; but this year I’m trying tobacco! More about that later :)  The huge bed adjacent to the tobacco beds will be full of peppers and okra.  We threw some peas in for now; they should be about done by the time the peppers are going in.

At our house we are starting lots of seeds. 
Everything is doing great!  We have a small hoop house for starting seeds and storing tools.  We set up a heater a couple nights last month when the temperature dropped below freezing, but for the most part the hoop house stayed warm enough.

Here is a look inside….
We put our seedlings in tubs with glass or plastic bags over them to keep everything warm and moist.   Now that the temperature is rising, we remove the covers in the morning otherwise the seedlings will get fried. 
We used these old metal storage containers to hold planters and then wrapped a large trash bag around them at night.
My boyfriend started some basil in these 2 liter bottles.  Just cut them in half, add water and a cotton “wick” and plant.  Seem to be working out so far, and you don’t have to worry about watering.
For this large, floating tobacco tray we just set up scrap wood barriers with glass and plastic on top.; which worked perfectly for starting greens.


Our compost piles....
We have been having beautiful weather here, so we took this opportunity to turn our compost piles.  We have two big piles and two small ones, so we started with the bigger pile.  Fork it up, then turned the adjacent pile into the first pile.  Once we got all the stuff that was still decomposing turned into the first pile; we collected the pure, worm filled compost in plastic tubs and trash cans.
The plan is to let the compost dry out in these tubs over the summer.  The tubs and trash cans are pretty deep so we will have to mix them up so the compost dries evenly.  Drying the compost makes it easier to work with.  Rather than adding a handful of compost mush to your soil, you’re adding dry compost mulch that easily forks into the soil and spreads evenly.
We covered the tubs in plastic bags to keep the rain out, and we will go from there this summer.  We turned the smaller compost piles onto the large pile.  Now we have one huge pile that is close to being done.  The chickens get to scratch around in this pile; turning it up, eating bugs and pooping all over making our compost into gold!  We throw our food scraps in the smaller piles, layering it with yard waste and old hay from the chicken coop.  Another benefit of having our compost organized in various stages of decomposition is that we don’t have to worry about the chickens eating things they shouldn’t out of the food scraps, like egg shells and avocado skins.  Dirty work, but the plants will thank us later!

Winter rye was planted all over last fall as a cover crop. So we turned it all over and added leaf mold and compost to prepare those beds. Took a bit of work, but the soil looks beautiful and ready to go. 
We also rolled all the plastic off our hoop houses, so the garden is ready for spring and summer.  Currently we have peas, onions, greens and lettuces planted.  The fruit trees are blooming, all our perennial herbs are coming back and the seedlings are growing strong.  This year looks very promising! 


Tuesday, March 19, 2013

DIY Natural A-Frame Trellis Part 1

Today my boyfriend and I started making trellises for our peas, cucumbers, gourds and melons.  We had an abundance branches from cut trees.  So we dug through the pile of tree limbs matching similar size branches. 
Basically we started with a tripod.  Taking 3 branches and anchoring them together using the natural notches in the stick to lock them in place.  We wound the thickest jute I could find around the sticks, wrapping tightly and knotting in multiple places. 
We built 2 tripods close to the same height.  Then put a long, relatively straight beam across the tripods giving us a well supported a-frame.   We tied the center beam down, although it didn’t seem necessary because they are pretty sturdy as they are.
We made a couple for the house garden, and 3 others to take to our other gardens in the neighborhood.  We tied them up in little bundles so we can carry them easily and remember which branches go together.  It seems to be easier to set the frame up on site, rather than carry tripods.  Once you have some branches picked out it really only takes about 15 minutes to put together. 
And best of all these trellises are all natural and biodegradable, just compost or burn when you’re done.  We haven’t decided what to put across the sides to encourage the plants to grow up the frame.  Wire fencing, bird netting, or jute is what we are debating. Jute will work for peas and possibly for cucumbers if strung in a grid, but that will be figured out in Part 2.

Monday, March 11, 2013

Garlic Powder


We recently bought a dehydrator; which is going to make preserving herbs, fruits, peppers, etc. so much easier!  I had previously be using my oven at a low setting for hours, which I’m sure used a lot more energy than a dehydrator. 
Since we don’t have much in the garden ripe for preserving right now, I decided to make garlic powder for my first project.  I love garlic powder, but I just can’t bring myself to buy that preservative filled powder at the grocery store. 
 
 
I used 5 heads of garlic.  Unwrapped all the cloves, sliced them up and dehydrated them at 105° F for around 24 hours.  Next time I will slice the garlic thinner to speed it up.
I ground the brittle cloves up in a blender, strained out the big clumps and reground them until I had nice smooth powder.    
 
My 5 heads of garlic filled up a half pint mason jar.
 
It tastes amazing, the house smells wonderful and I can’t stop putting it on everything!  Pasta, pizza, calzones, veggies, eggs, salads, breads.  We are going to put this dehydrator to very good use!

Monday, March 4, 2013

Homemade Spinach and Mushroom Ravioli

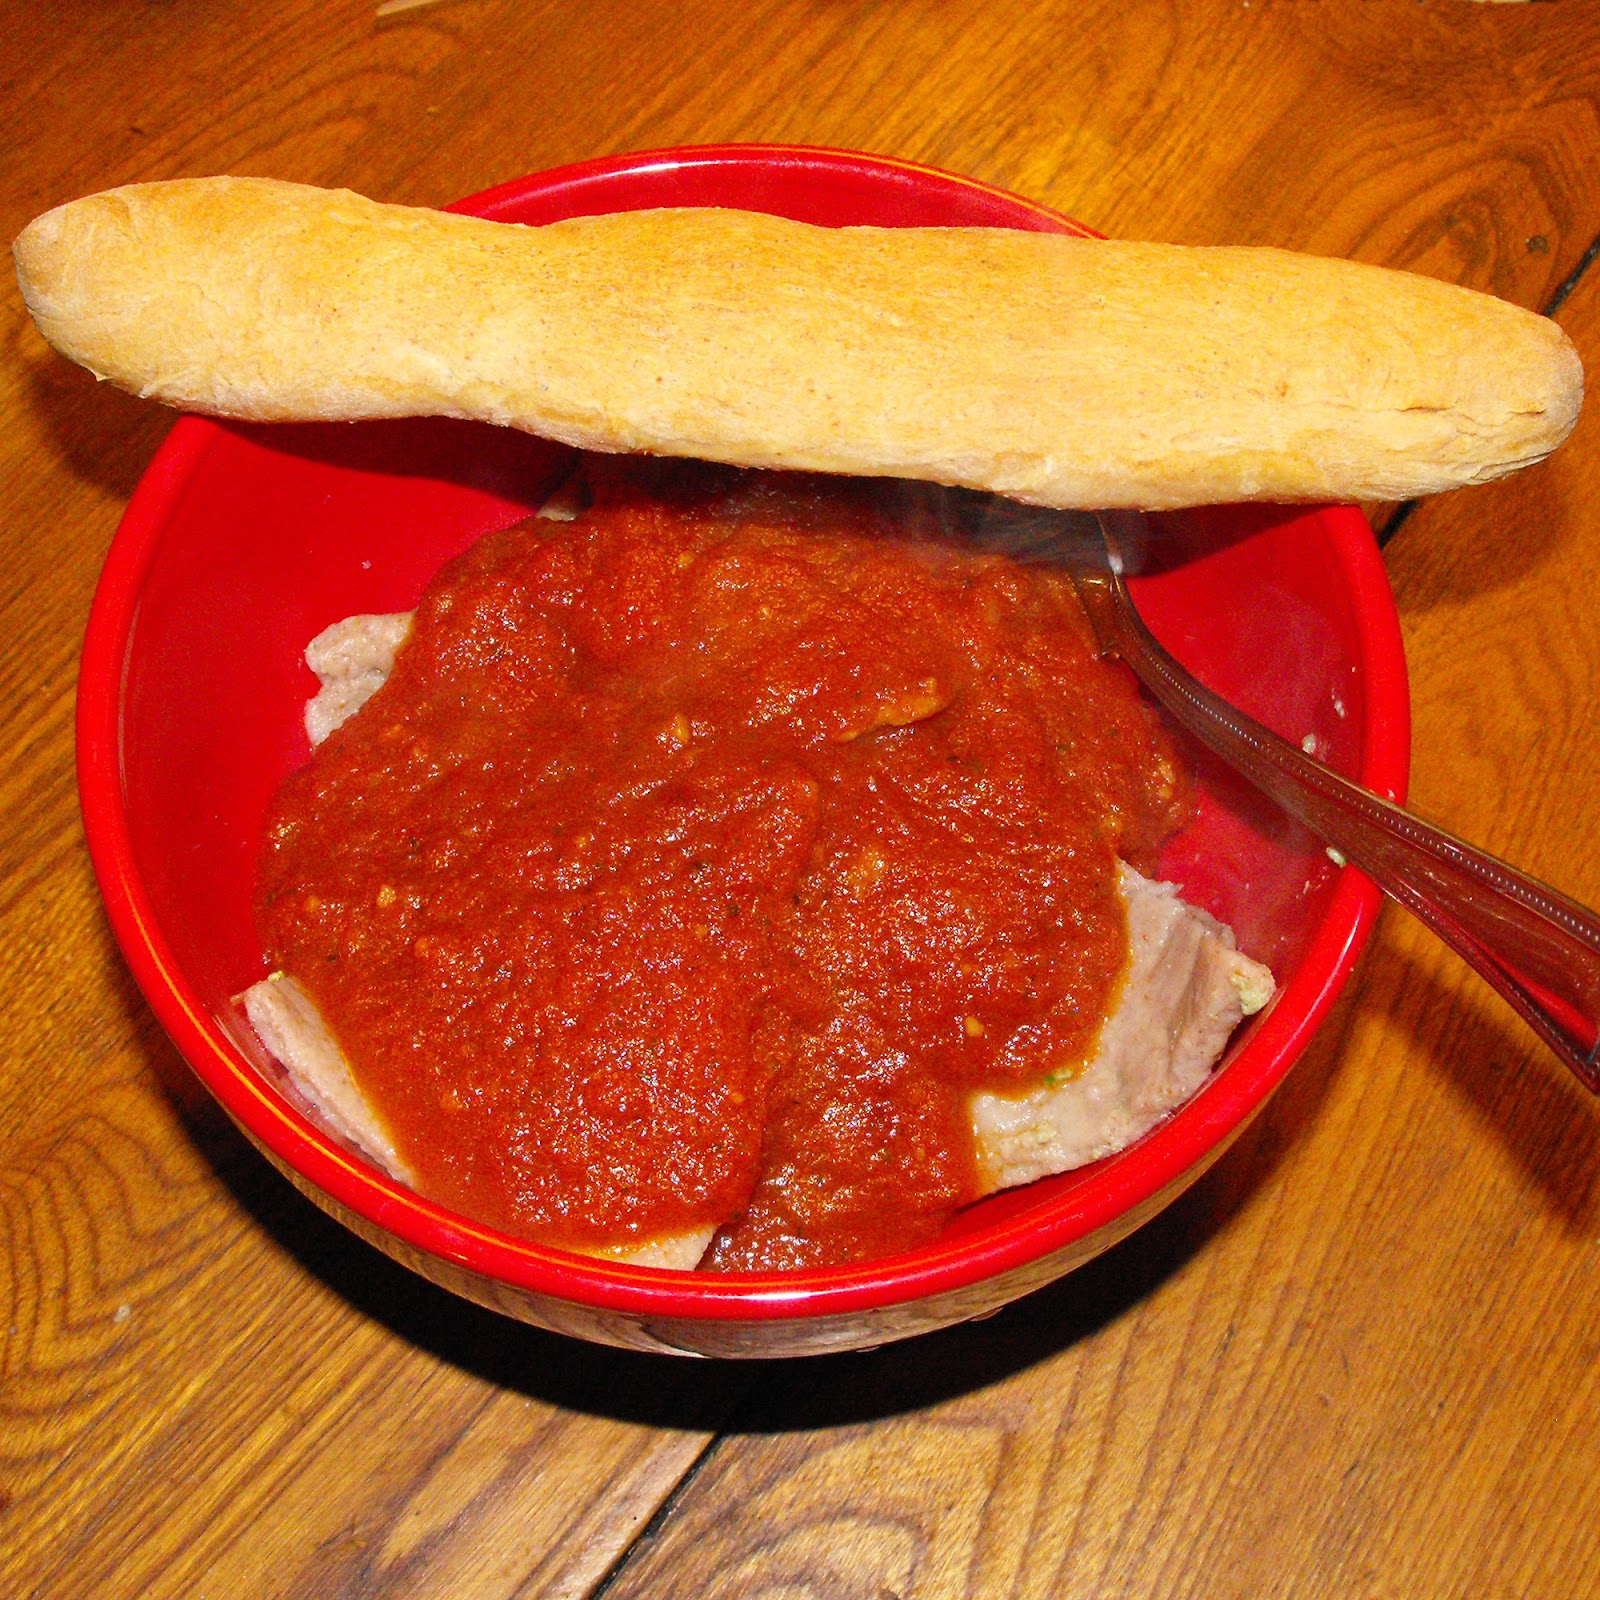
Well I think this is the hardest I’ve ever worked for a meal.  My boyfriend and I were sweating by the time we finished hand rolling our pasta; we are definitely ready to invest in a pasta roller!  We also made a fresh batch of pasta sauce and baked bread sticks, but the ravioli was the real accomplishment.


FILLING:

Blend:

1 CUP chopped mushrooms and spinach (substitute or add any veggies / herbs you like)
1 CUP ricotta cheese
2 eggs

Store in refrigerator until ready to use

PASTA:

Mix:

2 CUPS whole wheat flour (or other grains)
3 eggs
Pinch of salt
Knead dough for 10 minutes then roll flat either by hand or preferably with a pasta roller :)

Flatten until it’s as thin as a penny.

Then place spoonfuls of filling on one side of pasta, fold in half and press around seams to encase filling.
Cut between raviolis with pizza cutter or knife and press edges together with a fork.
Cover raviolis with flour to keep them from sticking to one another.
Cook in boiling water for 5-10 minutes, until raviolis float.


Drain water and add sauce.


I have to say, as much work as it was; these are the best raviolis I’ve ever eaten!   Such a simple and versatile recipe too, I will be making these again.


Printable recipe here.

Sunday, January 27, 2013

Veggie Enchiladas

I love this style of enchilada, with a cream of mushroom base.  My step mom would make them from time to time and the family would devour them!  And you can easily substitute other veggies to stuff the enchiladas depending on the season.

Start by making a cream of mushroom soup
½ pound mushrooms, diced
1 small red onion, diced
3 cloves garlic, finely chopped
2 TBSP vegan butter
1 ½ CUP veggie broth
Sautee mushrooms, onion, garlic in vegan butter until onions are soft and translucent.
Add veggie broth, cover and simmer for 30 minutes

Add:

1 TBSP flour
1 CUP vegan sour cream
½ CUP almond / rice / soy milk
1 can diced green chiles (4 – 7 oz can depending on taste)
Salt, Pepper to taste
Simmer uncovered for 10 minutes
Set aside ¾ of the sauce, to remaining ¼ of sauce add:
½ zucchini, cut in strips
1 carrot, cut in strips
4 or 5 mushrooms cut in strips
1 CUP corn
1 Cup Beans
Continue simmering for another 5 minutes, then stir in chopped green onion and cilantro to taste


Stuff 10 tortillas with veggie mix


Add another ½ CUP milk to sauce that was set aside and pour over stuffed tortillas


Bake at 350° F for 30- 35 minutes, or until bubbly


Friday, December 28, 2012

Xmas Presents

For the past several years I have made all my Christmas presents.  There are so many reasons to make things yourself around the holidays.  A handmade gift means a lot to loved ones and helps keep us away from all the over consumerism associated with Christmas these days.


Throughout December I’ve been posting what I’ve been making, but I’d like to compile everything here to give you all some ideas of easy, affordable home made gifts.


Simple knit skirts

These are for my Mom.  I used a skirt that I made her years ago for my pattern, which I believe was made with Simplicity pattern #4604 plus an elastic wasitband


Bay Rum Aftershave and Soap
 
Smells amazing!  I made these for my Dad, brothers, boyfriend, and male friends. (recipe here)


Reusable Muslin Tea Bags and Homegrown Hyssop Tea


My first batch of tea from the garden!  These are for my step-mom, and a couple other tea drinkers in my life.  I found a nice tin container to store the empty tea bags and made tags with a picture of hyssop and explanation of all its medicinal benefits.  Hyssop is an amazing herb! (tutorial here)


Leggings
 
For my sisters and lady friends (although I probably could have made these for everyone, since boys wear leggings too!) I’ve wanted to make try McCall’s pattern #6173 for a while!  It was super simple and they turned out great.  Never buying leggings again!


Printed Sweatshirt

For my 12 year old brother, who is too young to shave or care about soap, I printed a chicken skeleton on the back of a thrift store sweatshirt.  My brother takes care of the chickens and other birds at my dad’s farm, so I think he will be into this print as much as I am!

I made a silk screen (you can always make a stencil if you don’t have the equipment) and printed on a scrap of a t-shirt, then cut the patch out and sewed it on a hoodie.


Revenge Bot
 
OK, so maybe this isn’t one you could make easily.  We have a Christmas exchange on my Dad’s side of the family and I had my cousin who recently started his own skateboard company, Revenge.  So I made him one my robots with his logo on a robo-skateboard and the chest plate. Worked out perfectly!


Last year I made everyone food related items; hot sauce, soup, bread, fudge, chocolate covered cherries, peppermint bark, and even dog treats/catnip toys for pets.  I still wanted to make a few sweets this year and just take them to celebrations.  This is what I took….


Chocolate Covered Cherries (recipe here)


Homemade Pretzels Dipped in Chocolate
 

I used this recipe here and then melted vegan chocolate chips.

I dipped some in chocolate and crushed candy canes; others were covered in peanut butter, and then dipped in chocolate.


Skittles Vodka


I found this recipe here.  Tastes great, so glad Skittles is now gelatin-free!


And if you don’t have the time or energy for a diy Xmas, you can always shop locally and buy fair trade goods online.  My boyfriend has wanted a backstrap loom for a while; I found a really nice one here from a fair trade non-profit in Guatemala.

I made him this actual backstrap to go with it!