Showing posts with label fabric. Show all posts

Tuesday, April 9, 2013

Messenger Bag


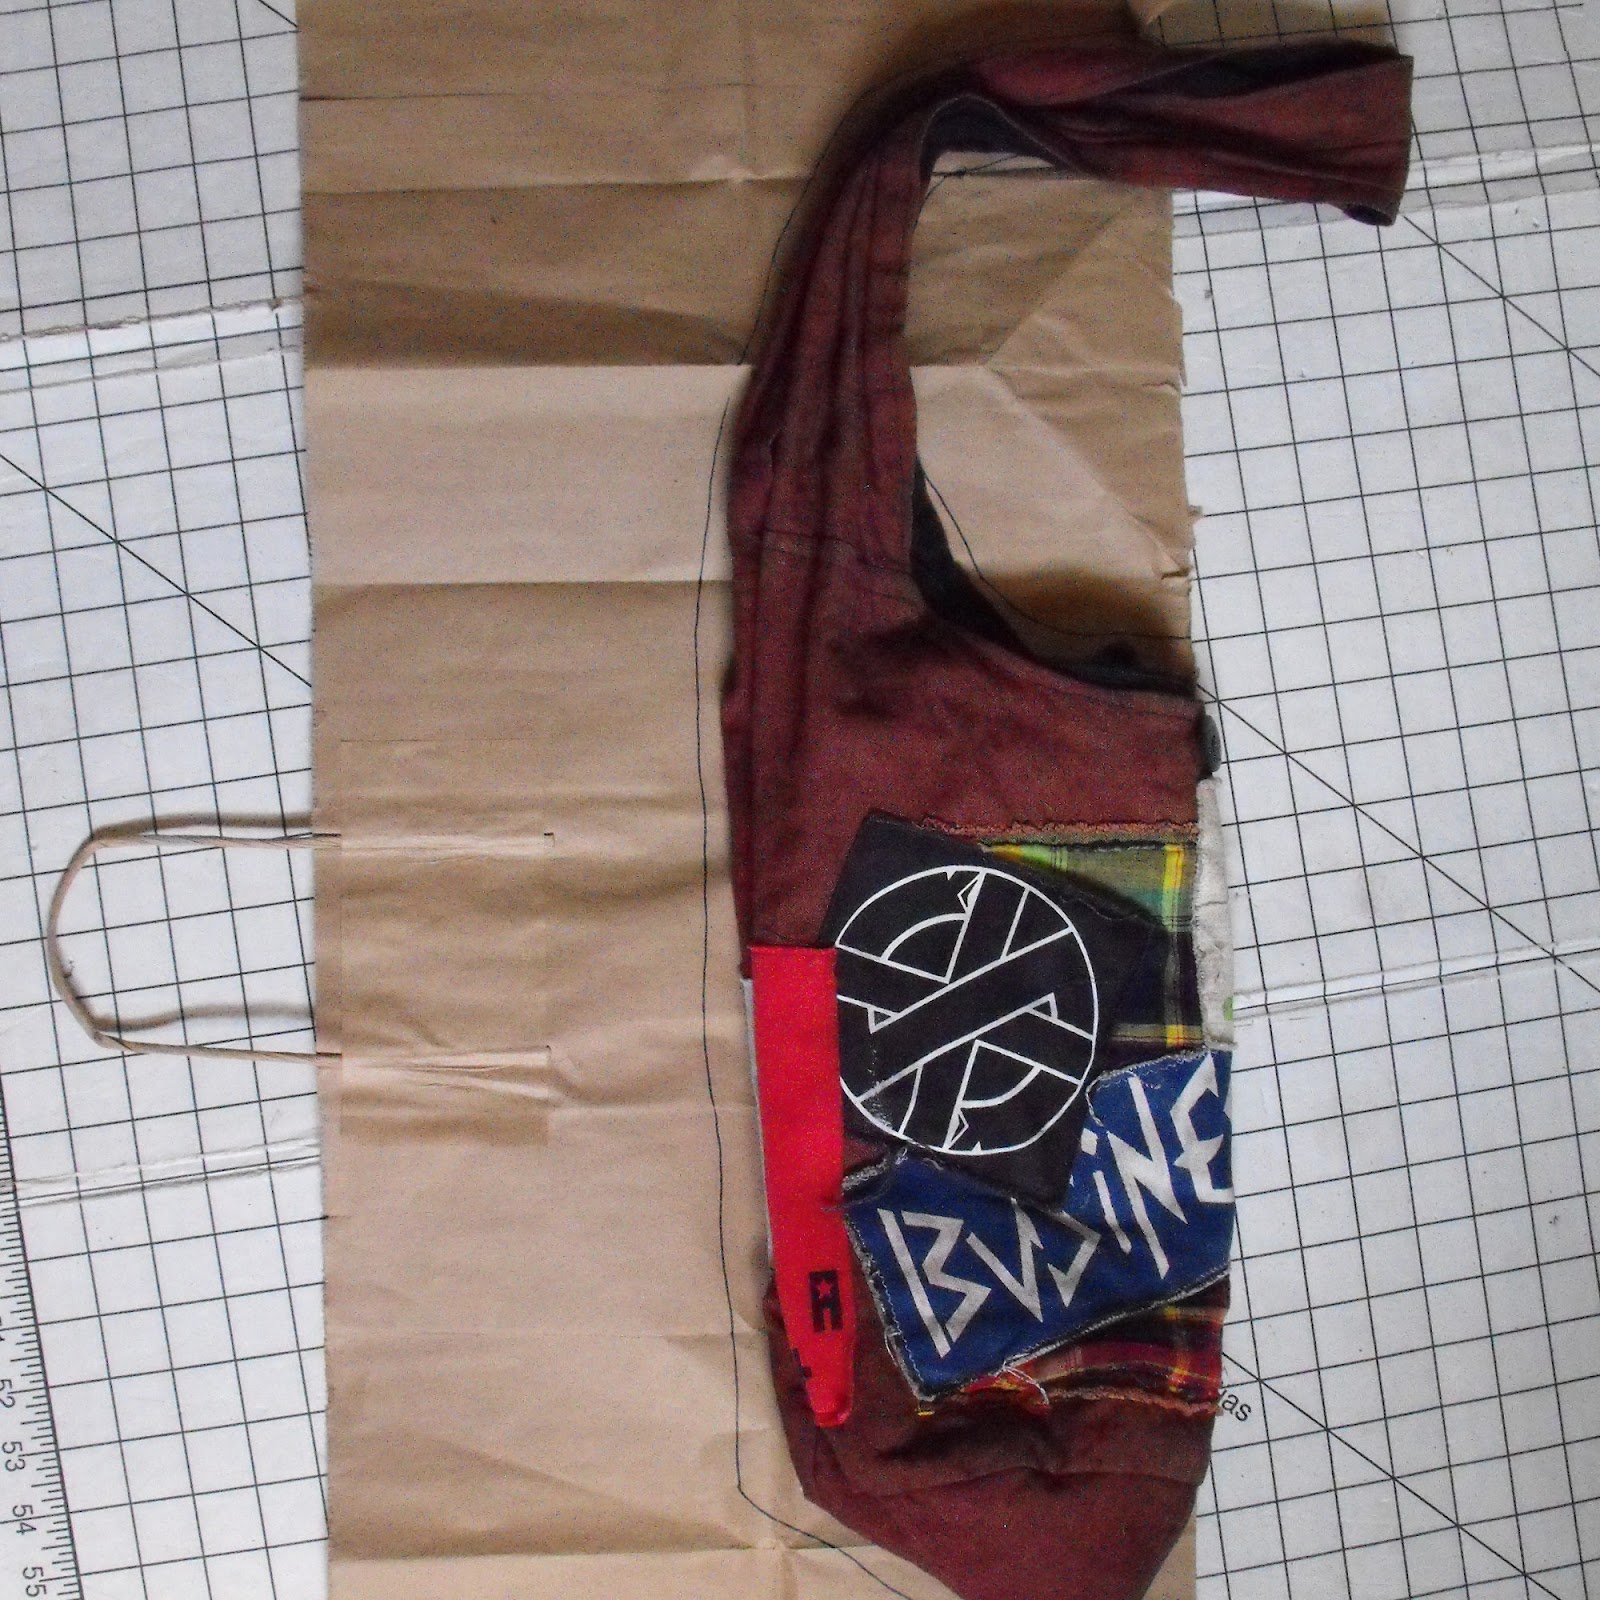
My brother turned 22 last week!  He mentioned that he could use a new messenger bag.  He has been using the bag I made for myself to carry books and whatnot during college.  I knew I still had the pattern too, which made it easy, Butterick See & Sew Pattern # 4583.  Not sure if it’s still a current pattern, but there are plenty of similar messenger bag patterns out there.

 
Since it was my second time around using the pattern, I figured I would actually follow the directions correctly.  I tend to start with the directions, and then eventually abandon them to figure the steps out on my own.  Not a bad technique, but I’m starting to use patterns more as teaching tools to learn new sewing skills. 

 
I wanted this bag to be extra strong too, because my brother was born for academia!  I’m sure he is carrying around much bigger books than I ever did!  So I used a heavyweight fusible interfacing, and doubled up on it, fusing it to the outside and the lining; whereas the pattern only calls for one layer of lighter interfacing.  It made for a pretty sturdy bag; we will see how it holds up!  I added a zippered pocket inside, and made another pocket into a pen holder, making it a perfect school bag!

Friday, December 28, 2012

Edward Scissorhands Skirt Recon for my Sister’s Birthday

I can’t believe it, but my youngest sister turns 16 today!  She, like most young girls I suppose, loves Johnny Depp.  So I looked all over eBay and Etsy for the coolest Johnny Depp t-shirt I could find, and came up with this one….
Pretty cool shirt!  I turned it into a fabulous skirt (or tube top), by added drawstrings to the sides and an elastic waistband.
I should have taken more pictures of each step, but here is an inside shot of the drawstring.  I basically cut the shirt into rectangular pieces and serged (or use a sewing machine) a 6 or 7 inch strip of stretchy knit fabric to each side of the t-shirt.  Then I folded the strip in half and stitched about 1 ½ inches in to form a “pocket” for the drawstring.  I then pressed the “pocket” down evenly and stitched up the center to form 2 “pockets”.  I made the drawstrings and pulled them up one side of the skirt and back down using a safety pin to guide the string through the “pockets”.  I tied each end; you could also use a bead as a stopper if you can find one with a big enough opening to fit the fabric through.  Then I simply hemmed the loose edges, sewed an elastic waistband to the top and trimmed any excess fabric.

Xmas Presents

For the past several years I have made all my Christmas presents.  There are so many reasons to make things yourself around the holidays.  A handmade gift means a lot to loved ones and helps keep us away from all the over consumerism associated with Christmas these days.


Throughout December I’ve been posting what I’ve been making, but I’d like to compile everything here to give you all some ideas of easy, affordable home made gifts.


Simple knit skirts

These are for my Mom.  I used a skirt that I made her years ago for my pattern, which I believe was made with Simplicity pattern #4604 plus an elastic wasitband


Bay Rum Aftershave and Soap
 
Smells amazing!  I made these for my Dad, brothers, boyfriend, and male friends. (recipe here)


Reusable Muslin Tea Bags and Homegrown Hyssop Tea


My first batch of tea from the garden!  These are for my step-mom, and a couple other tea drinkers in my life.  I found a nice tin container to store the empty tea bags and made tags with a picture of hyssop and explanation of all its medicinal benefits.  Hyssop is an amazing herb! (tutorial here)


Leggings
 
For my sisters and lady friends (although I probably could have made these for everyone, since boys wear leggings too!) I’ve wanted to make try McCall’s pattern #6173 for a while!  It was super simple and they turned out great.  Never buying leggings again!


Printed Sweatshirt

For my 12 year old brother, who is too young to shave or care about soap, I printed a chicken skeleton on the back of a thrift store sweatshirt.  My brother takes care of the chickens and other birds at my dad’s farm, so I think he will be into this print as much as I am!

I made a silk screen (you can always make a stencil if you don’t have the equipment) and printed on a scrap of a t-shirt, then cut the patch out and sewed it on a hoodie.


Revenge Bot
 
OK, so maybe this isn’t one you could make easily.  We have a Christmas exchange on my Dad’s side of the family and I had my cousin who recently started his own skateboard company, Revenge.  So I made him one my robots with his logo on a robo-skateboard and the chest plate. Worked out perfectly!


Last year I made everyone food related items; hot sauce, soup, bread, fudge, chocolate covered cherries, peppermint bark, and even dog treats/catnip toys for pets.  I still wanted to make a few sweets this year and just take them to celebrations.  This is what I took….


Chocolate Covered Cherries (recipe here)


Homemade Pretzels Dipped in Chocolate
 

I used this recipe here and then melted vegan chocolate chips.

I dipped some in chocolate and crushed candy canes; others were covered in peanut butter, and then dipped in chocolate.


Skittles Vodka


I found this recipe here.  Tastes great, so glad Skittles is now gelatin-free!


And if you don’t have the time or energy for a diy Xmas, you can always shop locally and buy fair trade goods online.  My boyfriend has wanted a backstrap loom for a while; I found a really nice one here from a fair trade non-profit in Guatemala.

I made him this actual backstrap to go with it!

Sunday, October 21, 2012

Jim Morrison Wall Art


It’s my amazing sister Holly’s birthday today!  I made her a huge Jim Morrison painting.  It turned out great; I really wanted to keep it for myself!  I think I will just have to do another one for us… maybe with Lux Interior instead?!  I basically just made a huge paper stencil and painting on canvas.


I made my own canvas with 24” and 32” stretcher bars and light tan canvas.  You could buy a pre-made canvas too, but it’s usually cheaper to make your own if it’s big painting. 


I took an image of Jim Morrison that was easy to recognize and decent quality so the basic details would show up in a stencil.  I used Gimp (a free, open source photo editor) to edit my picture.  I changed it to black and white then adjusted the levels, brightness and contrast of the photo until it was straight black and white.  Gimp also has a color option called Posterize (not sure what it’s called in Photoshop); where you can choose to only have 2 colors, black and white, in your image.  With these tools a stencil is easy.


Once I had my stencil I made the whole image the same size as my canvas and split it into 8.5” x 11” paper sized sections.  You will have to do some math for this part.  My image was going to need to be printed on 9 pieces of paper.  I made sure to overlap where I cut my image into sections, so that I could easily match the pieces up and wouldn’t miss any part of the image.


I printed each section out and then cut the border of the page off.  I assembled the image together and taped the paper with packaging tape on the front and back.  It may be helpful to print the whole image out on a separate piece of paper just so you have a model to look at.


(Also note that I printed my image in colors because I was out of black ink, but I will refer to the colored sections as black and the white as white to make it easier)


Now that you have your image, it’s time to make the stencil.  Cut the black spaces out with an X-Acto knife and scissors.  For any floating white spaces (as in not touching other white areas) you will need to keep a little “bridge” of black paper to keep it attached and make placement easy.  It may help to draw the “bridge” before cutting so you don’t make a mistake, as I have done many times with stencils!


Once all the black spaces are finally cut, pin the paper onto your canvas.  Take a permanent marker and outline around every line of the stencil. 


When you finish the overall outline you can go back through where you made the “bridges” and as you’re unpinning, draw in where the floating white pieces begin and end.  I drew a squiggly mark over those spots that would become black to make painting easier.


Now just color it in!  I used black silk screen ink with paint brushes, and then added a second coat of paint with a sponge for a smooth finish.  You could use acrylic paint too, but I wanted it to be flat and smooth like a giant silk screen.  I heat set the ink with an iron, although I’m not sure if it was necessary, but maybe it will help keep it from fading.


Such a large gift required a lot of wrapping paper, so I taped old phone book pages together and tucked the edges under the stretcher bars.  I even found her name in the listings and drew a heart around it as a gift tag.


Thursday, July 12, 2012

Wilco Circle Tote Bag for Mom


MATERIALS: old t-shirt, double sided fusible web/interfacing, 1 ½ yards duck cloth, thread, paper bag

A few weeks ago I found this Wilco t-shirt in a pile of clothes a friend was getting rid of.  I grabbed it right away, immediately starting to brainstorm what to make out of it.  I’m pretty sure Wilco would put me to sleep, but I know they are one my Mom’s favorite bands and her birthday is today!  The shirt had a lot of stains on it, so I decided it would have to become a patch for a tote bag.  And after a bit of searching I stumbled upon this duck cloth that is totally my Mom’s colors!

First I made my pattern by using another bag of mine.  You could easily just sketch this basic shape out if you don’t have a similar bag.  The main thing is just to have your fabric all the same size, so the shape you use can be modified.


Then I folded my fabric, lined my pattern up against the fold line and cut out 4 “bib shaped” pieces. 


I used the excess fabric from the inner circle to make 4 pockets.  I serged around the edges (or you could press the fabric under and stitch with a regular machine) and added 2 pockets on the 2 pieces I chose to be the inside of the bag.


Next I cut the logo on the t-shirt out and fused one side of my fusible web to the back of the patch.  I made the patch bigger than I wanted to begin with because it’s much easier to cut crisp lines when the fusible web is attached.  So after trimming the sides down I pinned the patch to one of my outer bag pieces, fused it to the fabric and stitched it in place. 


I pinned the outer pieces with right sides together, (matching stripes or pattern if neccessary) and stitched around the outside circle.  I did the same thing with the inner pieces.  Then I turned the outer piece right side out and pressed the edges.


Now comes the hard part.  I put the inner bag piece inside the outer bag and matched up the sides.  Then I pressed about ¼ inch on each side towards the inside of the seam line, pinning as I went.  I sewed each side together and there you go!


I had a little extra fabric left over so I made a matching coin purse by cutting 2 rectangles.  I folded them in half to make a square and then pressed ½ inch inward to attach a zipper.  It’s ok if your zipper is bigger than the fabric, just cut off the excess.


Then I turned the coin purse so that right sides were together, and stitched up the sides.  Be careful when stitching over the zipper end, I usually just manually turning the machine at this point so I don’t snap a needle.  And leave the zipper half open before doing this so that you can easily turn the purse right side out and then press if necessary. 


My mom’s going to love it!

Friday, June 15, 2012

Homemade Labels for Clothing


As I’m beginning to concentrate on creating a rock and roll clothing line, I realized I didn’t have any labels for the clothes.  In the past I made a lot of jewelry so I have plenty of paper cards and stickers, but nothing I could sew on.  I came across some twill tape at work that had been marked down so many times, it was only $0.34!  So I decided to try printing “raygun undone” on it.  After a few smeary attempts I found something that worked….
MATERIALS: 1 inch wide twill tape (it comes in those Wrights packaged tapes at fabric stores), alphabet rubber stamps, Palette Hybrid Ink pad, iron
I found some old typewriter font alphabet stamps that were perfect!  I researched different ink pads and found that Palette Hybrid ink can be used on fabric if heat set.  So I cut strips of twill tape, leaving space for a seam on each side of my logo.  Then I just printed on each strip, ironed them between layers of parchment paper, and they are ready to be sewn!  I tried washing them out and the ink stayed, so it was a success.  I will have to experiment with these ink pads further, they seem like a great addition to the silk screening and stenciling I have been doing lately!